#3D-Printing #CAD-Design
3D Printing and Designing an RGB Sword
Published Oct 31, 2017 by Matthew Albert

Halloween 2017
This is the first Halloween that I had my 3D printer, I wanted to make something special. Why not a custom built 3D printed RGB controllable sword? The creation of this sword was divided into three phases: design, printing, assembly.
Design
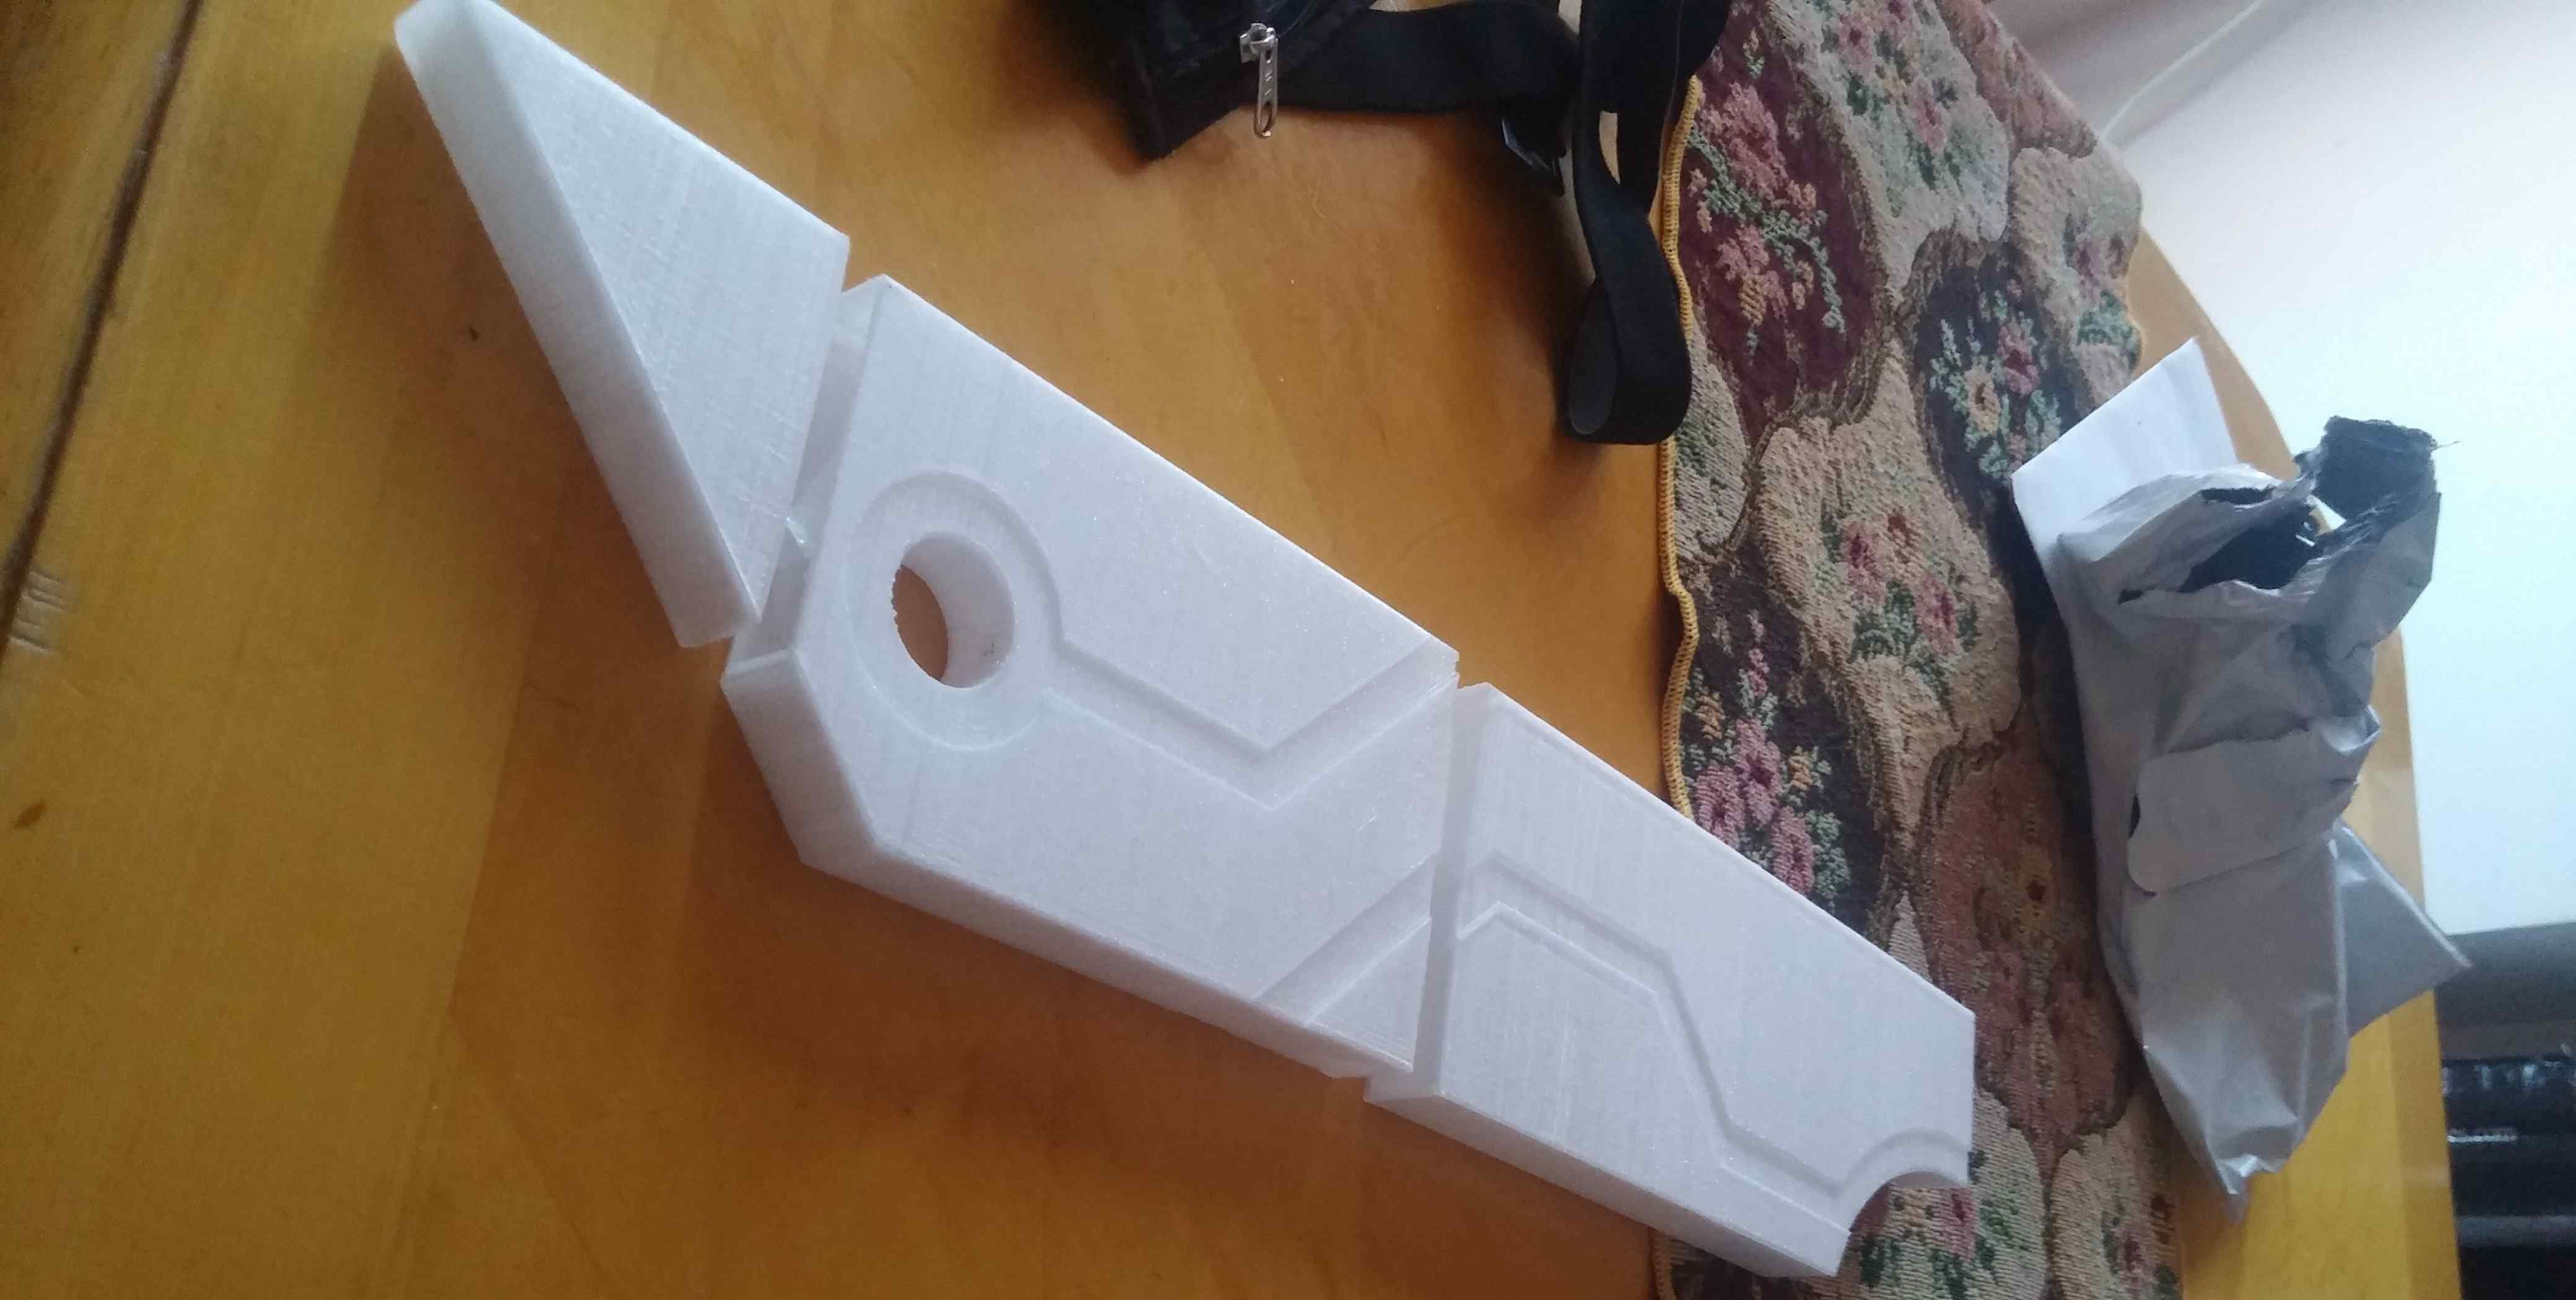
The first inspiration for this project was Adafruit’s Guardian Sword. As much as it is a fantastic project, I had something squarer in mind. After talking to some friends about the project, Zabuza’s Kubikiribōchō from Naruto became my main source of inspiration. I started playing around in Fusion 360 and after a few hours came up with this:

After dividing the print into a few pieces, it was off to the Anet A8.
Printing
Cheap transparent PETG at 220°C was used for the main body. Printing started out great for the first pieces.
However, past the 20th hour, the nozzle kept jamming up every so often. Due to Halloween approaching, I did not have time to norder a new nozzle so I just cut the print into smaller pieces for the last parts.
 Thanklfuly, the pieces look great!
It was also originally planned to have the black outlines made of black PLA, but I setled for black electrical tape due to all the headaches caused by the printer.
Thanklfuly, the pieces look great!
It was also originally planned to have the black outlines made of black PLA, but I setled for black electrical tape due to all the headaches caused by the printer.
Assembly
I was expecting it to be hard to glue the PETG pieces together from what I read, but I never imagined it to be this bad. I first used JB Weld to stick the body pieces together, it didn’t stick. I then tried to weld the plastic together, didn’t work either and I was burning the pastic more than anything. I resorted to using hot glue… Gorilla Hot Glue sticks to be exact. It did a decent job. However, it ended up cracking halfway trough the day. I planned to have a printed handle, but after all this difficulty for gluing things, I opted for something more solid as the handle. I took a 5$ battery pack on liquidation at a store near me. It was a very bright pink, but nothing a bit of spray paint can’t fix. The sword was fitted with the cheapest IR controlled RGB strip off of Amazon.
The fact that my handle became a battery pack was also a blessing, no external connections required!
I removed the RGB controller casing and was left with this mess:
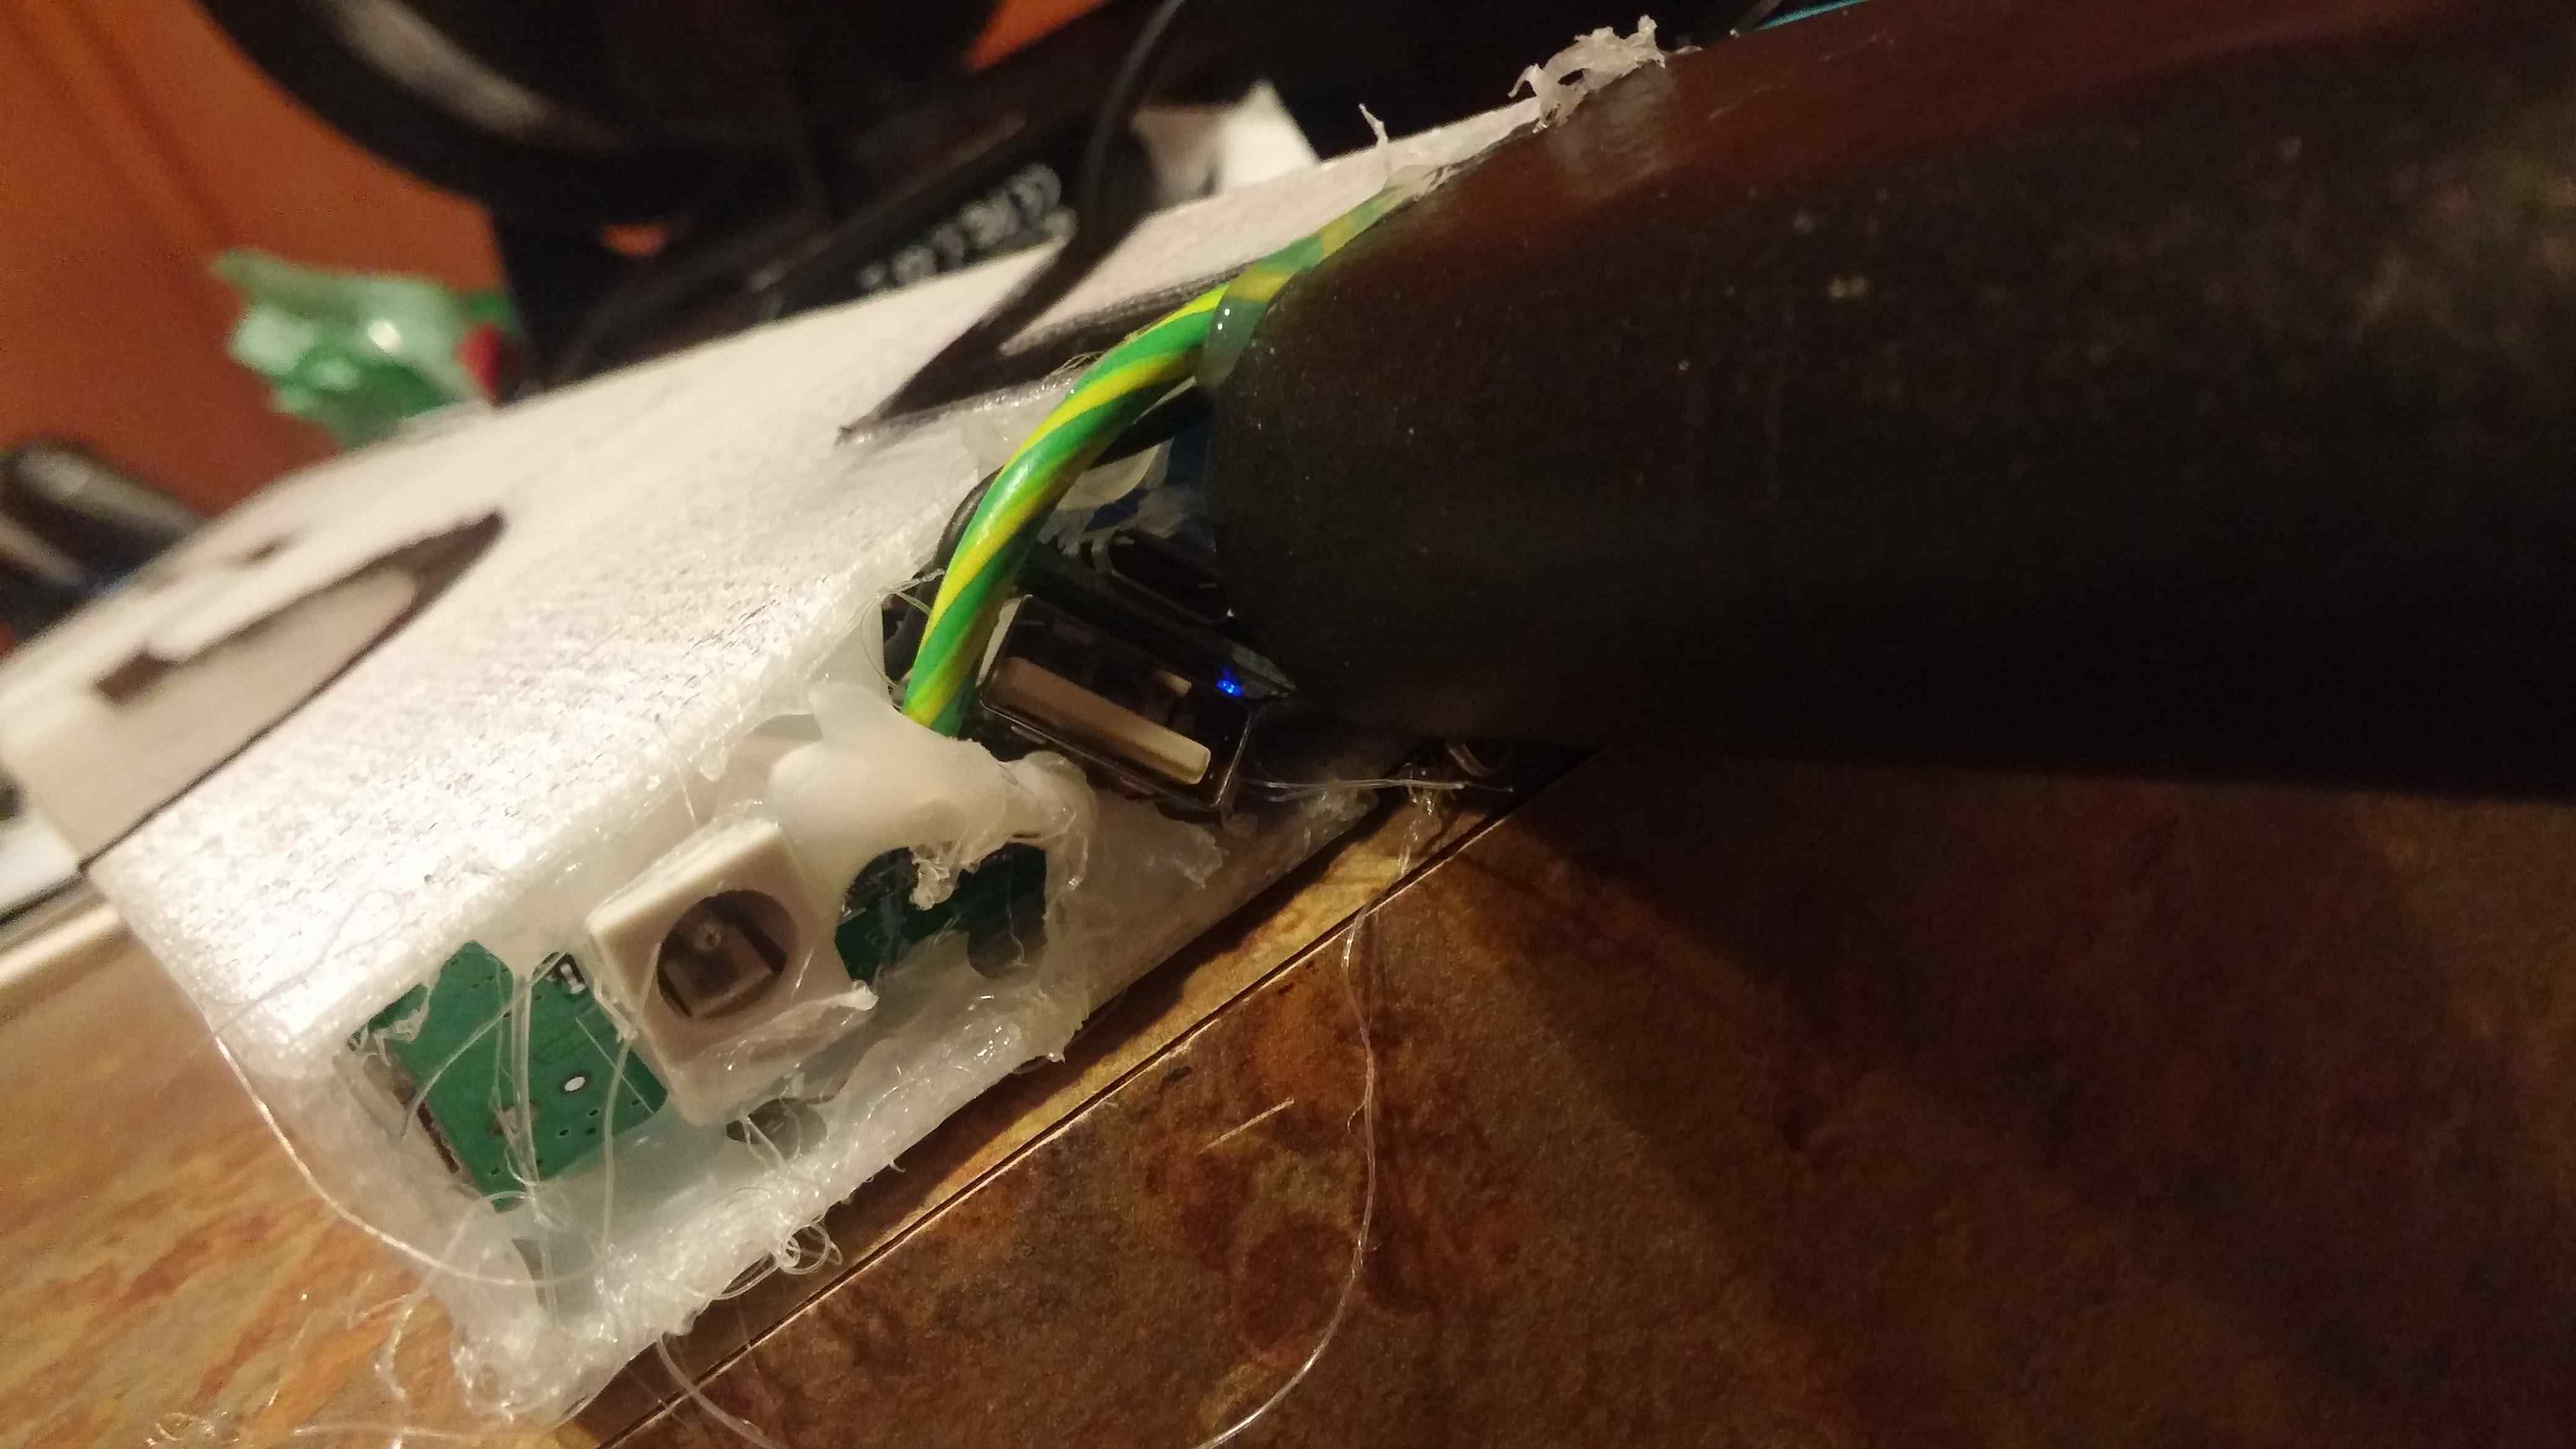 From left to right we have the 12v RGB power in, the power pack 5v output and the 5v micro USB charging. The IR sensor is slightly resseced and cannot be seen from this angle.
I’m not too proud of the project from this angle, but hey, it worked and was my first one.
You may have noticed the problem that my output is 5v while my input is 12v, “USB 5V to DC 12V Step Up Voltage Converter” to the rescue! I had to conceal this adapter wire in my sleave. If a version 2 of this project ever happens, I would have put it inside the sword before I sealed it up.
From left to right we have the 12v RGB power in, the power pack 5v output and the 5v micro USB charging. The IR sensor is slightly resseced and cannot be seen from this angle.
I’m not too proud of the project from this angle, but hey, it worked and was my first one.
You may have noticed the problem that my output is 5v while my input is 12v, “USB 5V to DC 12V Step Up Voltage Converter” to the rescue! I had to conceal this adapter wire in my sleave. If a version 2 of this project ever happens, I would have put it inside the sword before I sealed it up.
Finished Result

© Matthew Albert | Pudhina Fresh theme for Jekyll.