#3D-Printing #micro-electronics #programming
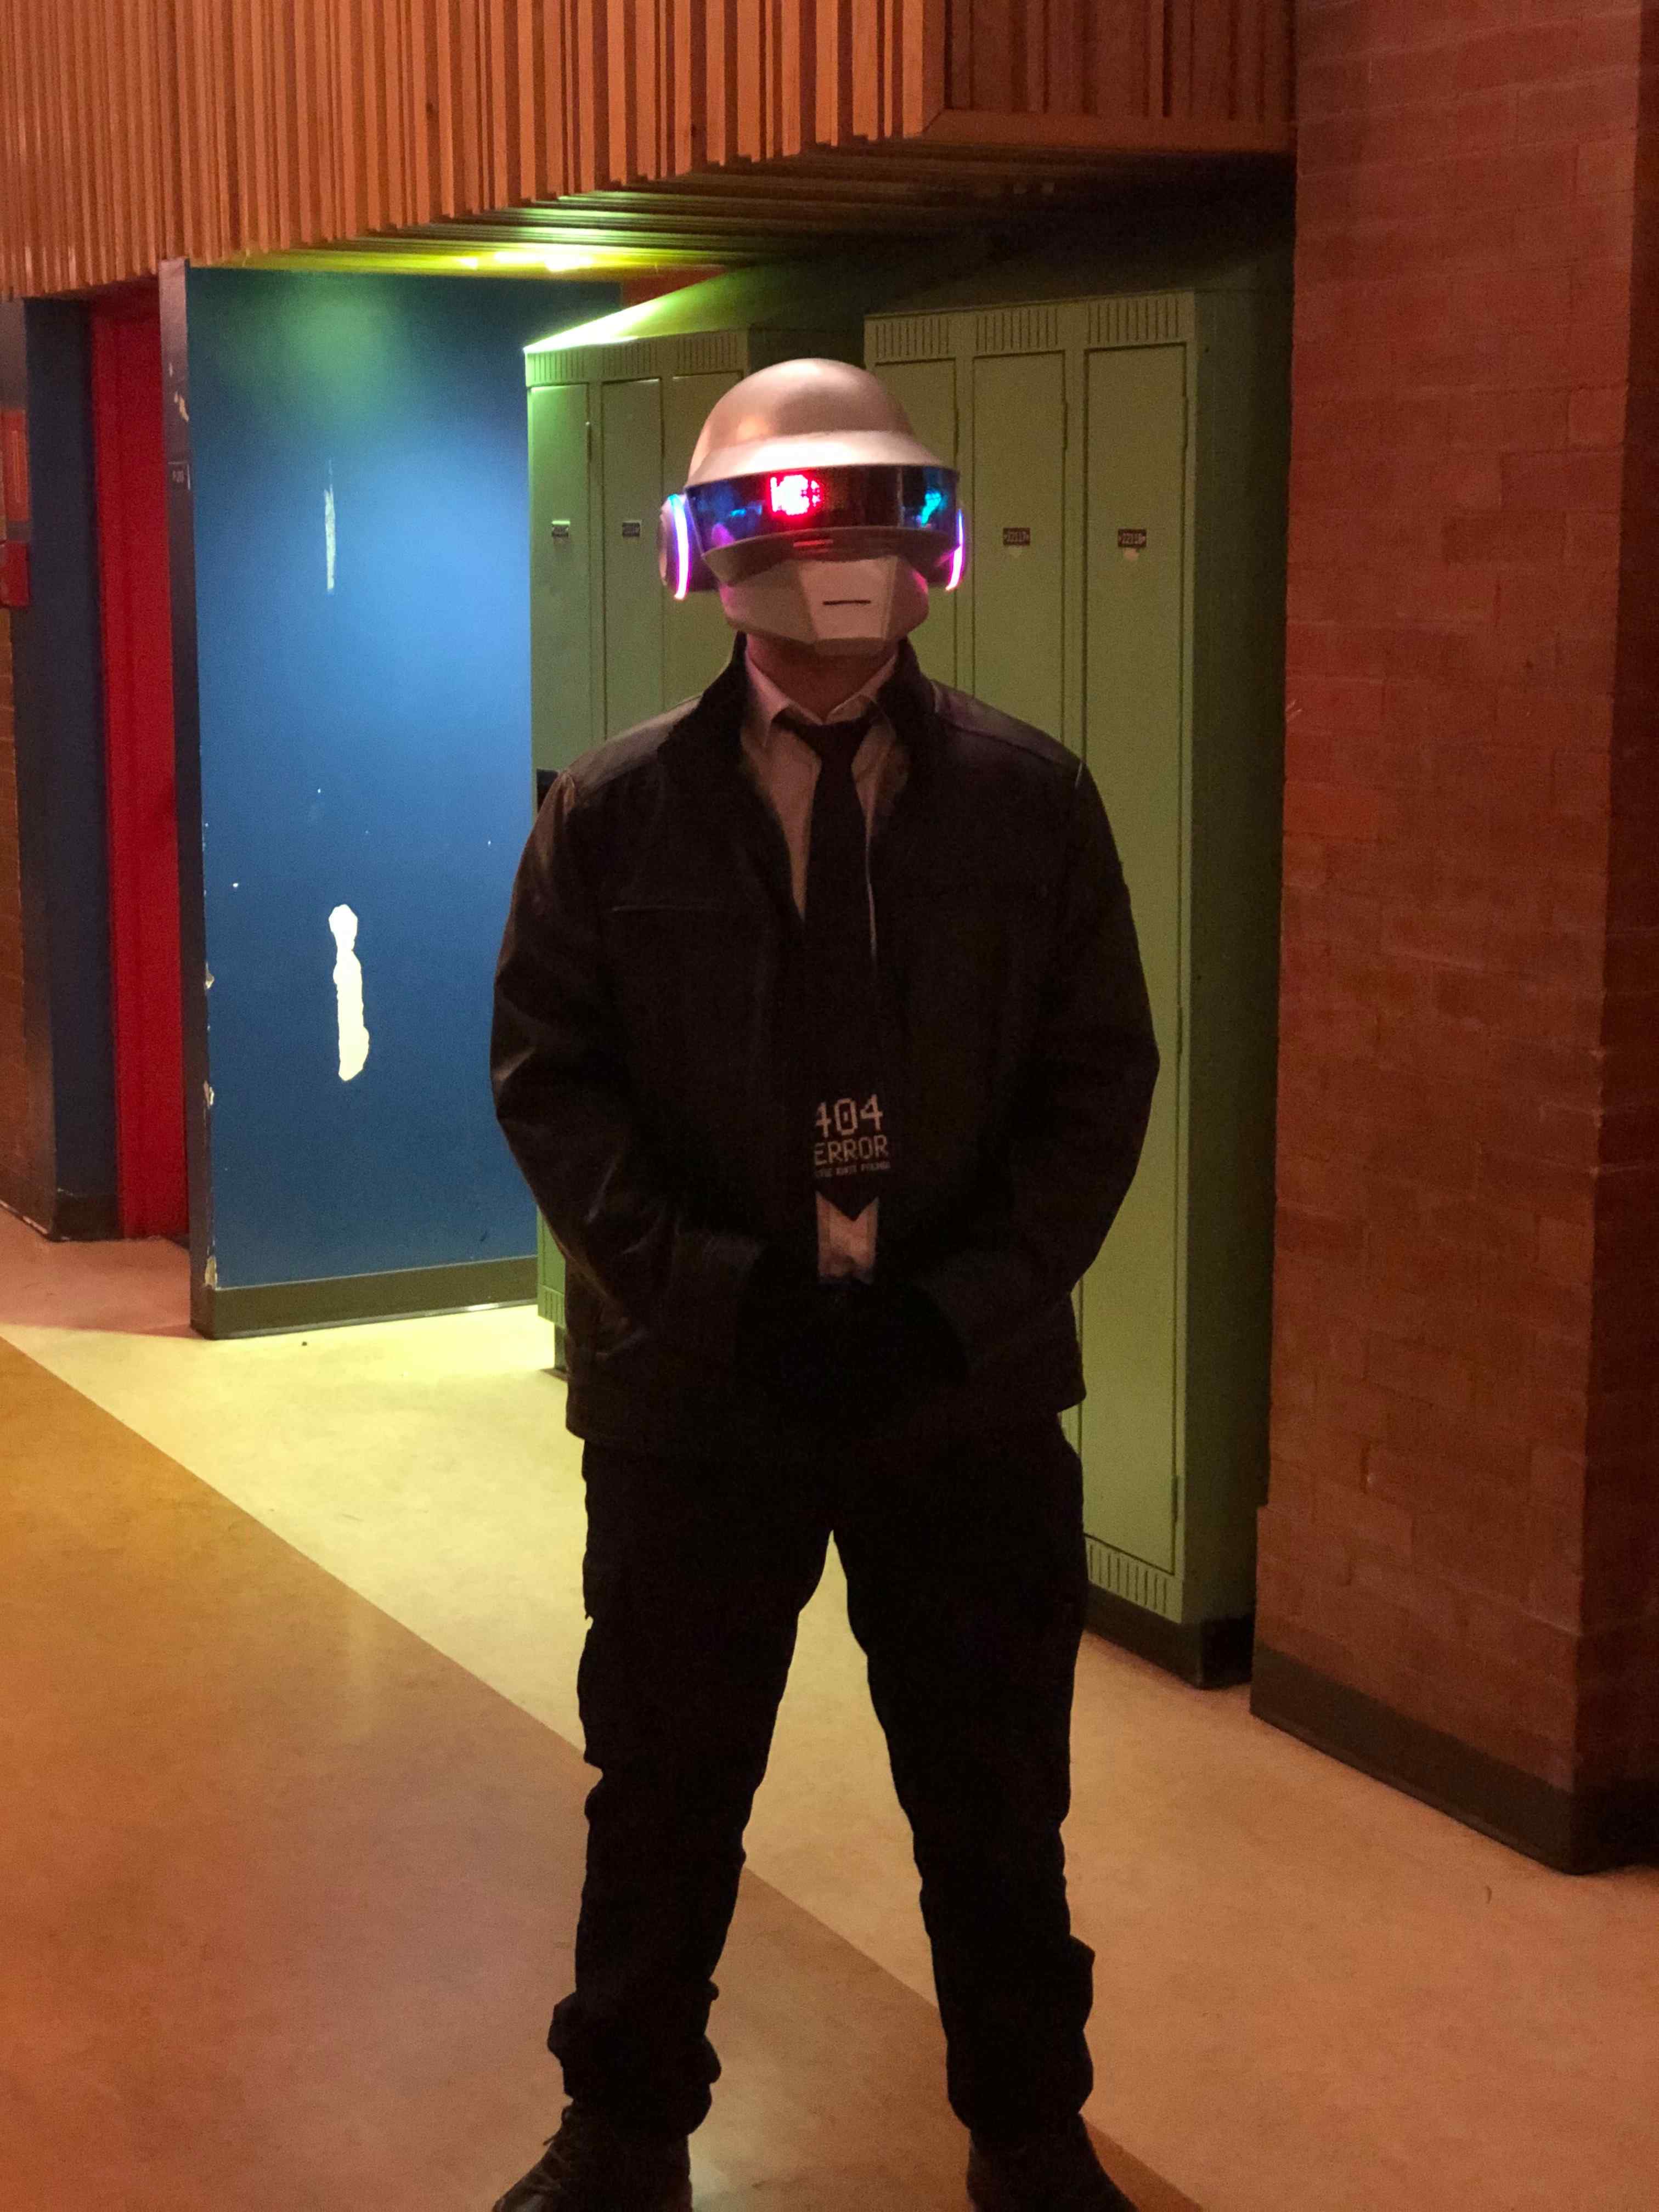
Thomas Daft Punk Helmet
Published Oct 30, 2019 by Matthew Albert
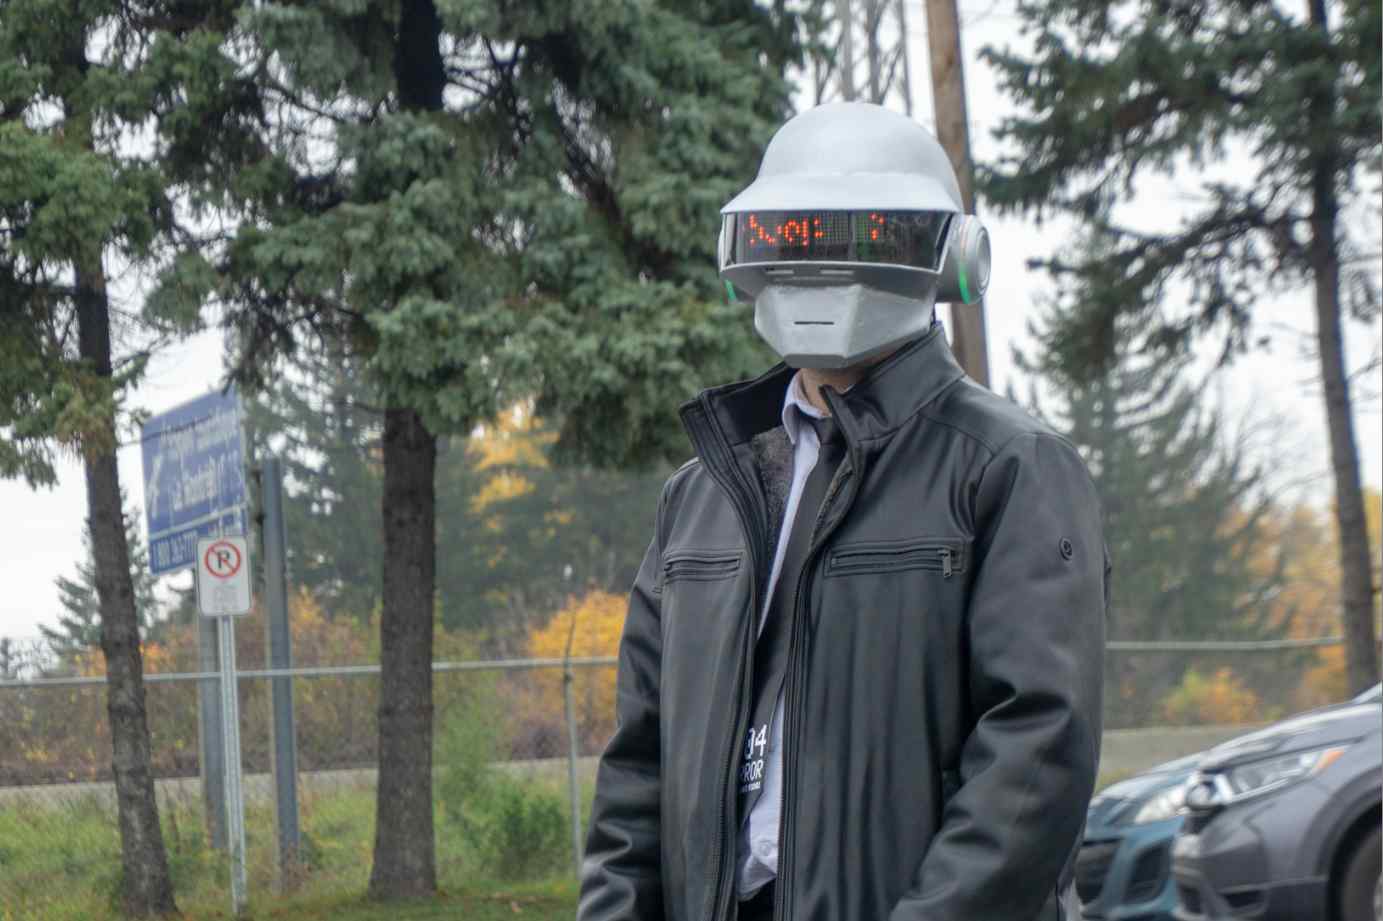
Halloween 2019
It had been two years since my last major 3D printing project, and I had much bigger ambitions this time. I decided on recreating Thomas Bangalter’s helmet from Daft Punk.
Printing
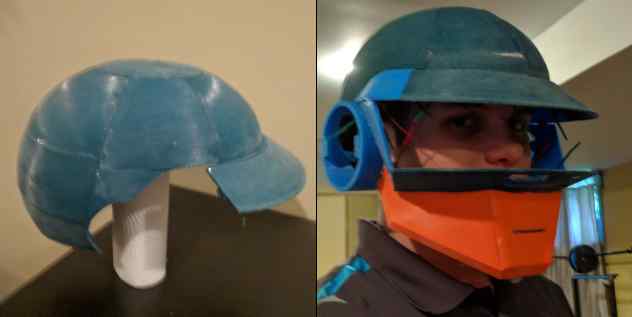
I opted to use an already proven model, but design my own electronics. The model I ended up using was this one. The model itself was very accurate. However, it was divided into several small pieces intended for smaller printers. More time in the assembly was required.
Assembly
Each section of the helmet is held against each other with zip-ties and 2-part epoxy glue. This part was tedious and messy, but the result was strong and solid.
Electronics
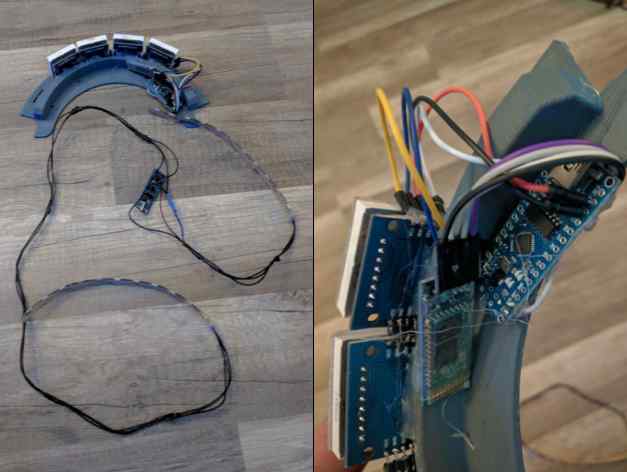
While looking at other renditions of this helmet, many people either build their own LED matrix diode by diode or used LED strips. I wanted to be somewhere in-between and used 8x8 MAX7219 LED matrices. I ordered 8 and planned to use all 8. Due to my weaker soldering skills at the time, I killed 4 of those 8 modules. The front matrix was going to be 8x32 pixels as a result. The ear cups on the side are strips of WS2812 individually addressable LEDs.
The ear LEDs go through a pre-defined loop of effects that I programmed. The matrix is controllable from a phone using a HC05 Bluetooth module that then relays the text via serial to the Arduino. The library used for the text animations/transitions is MD_MAX72XX
Finishing
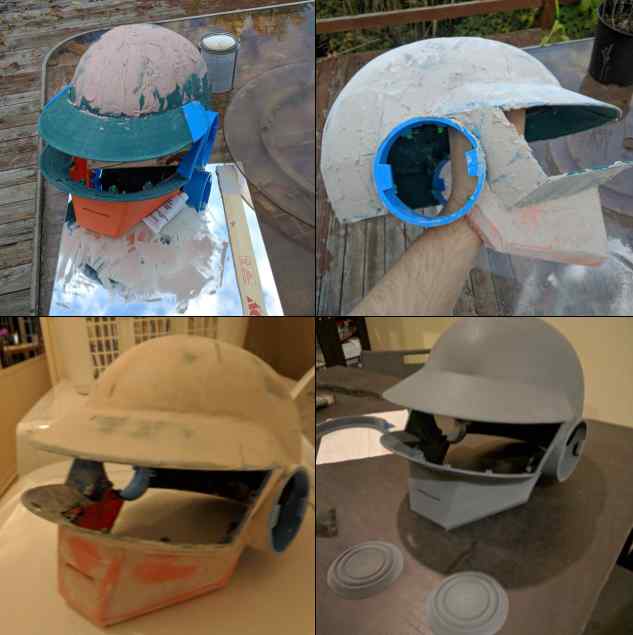
To smooth out the printing lines, I experimented using Bondo Filler. Usually used in automotive, it allowed me to fill the gaps and then sand the excess Bondo off. While it was miles better than just sanding the plastic directly, it was quite difficult to work with. I only got the hang of the proper mixture amount and spreading techniques when I was done. I would still use it again if needed for some other project.
Final Result

© Matthew Albert | Pudhina Fresh theme for Jekyll.