#3D-Printing
Recreating the Ace of Spades from Destiny
Published Mar 9, 2021 by Matthew Albert

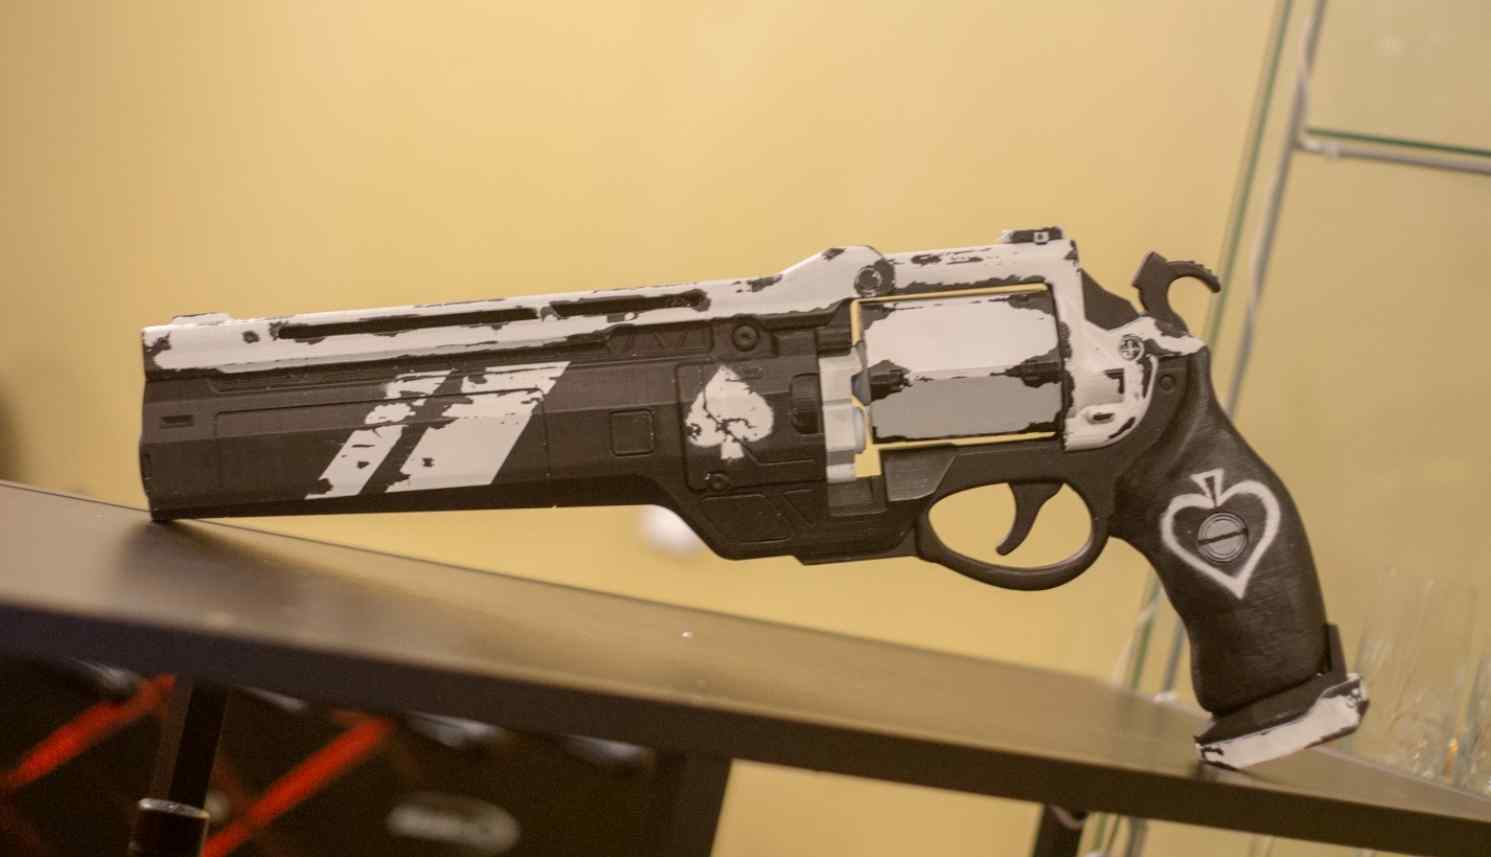
My rendition of Destiny’s Ace of Spades
Introduction
Destiny is a video game I enjoy and spent most of my high school playing with friends. The Ace of Spades is a hand cannon in that game that you can equip and use. I liked the look of it and after finding a model for it on Thingiverse, it was my next project.
Printing
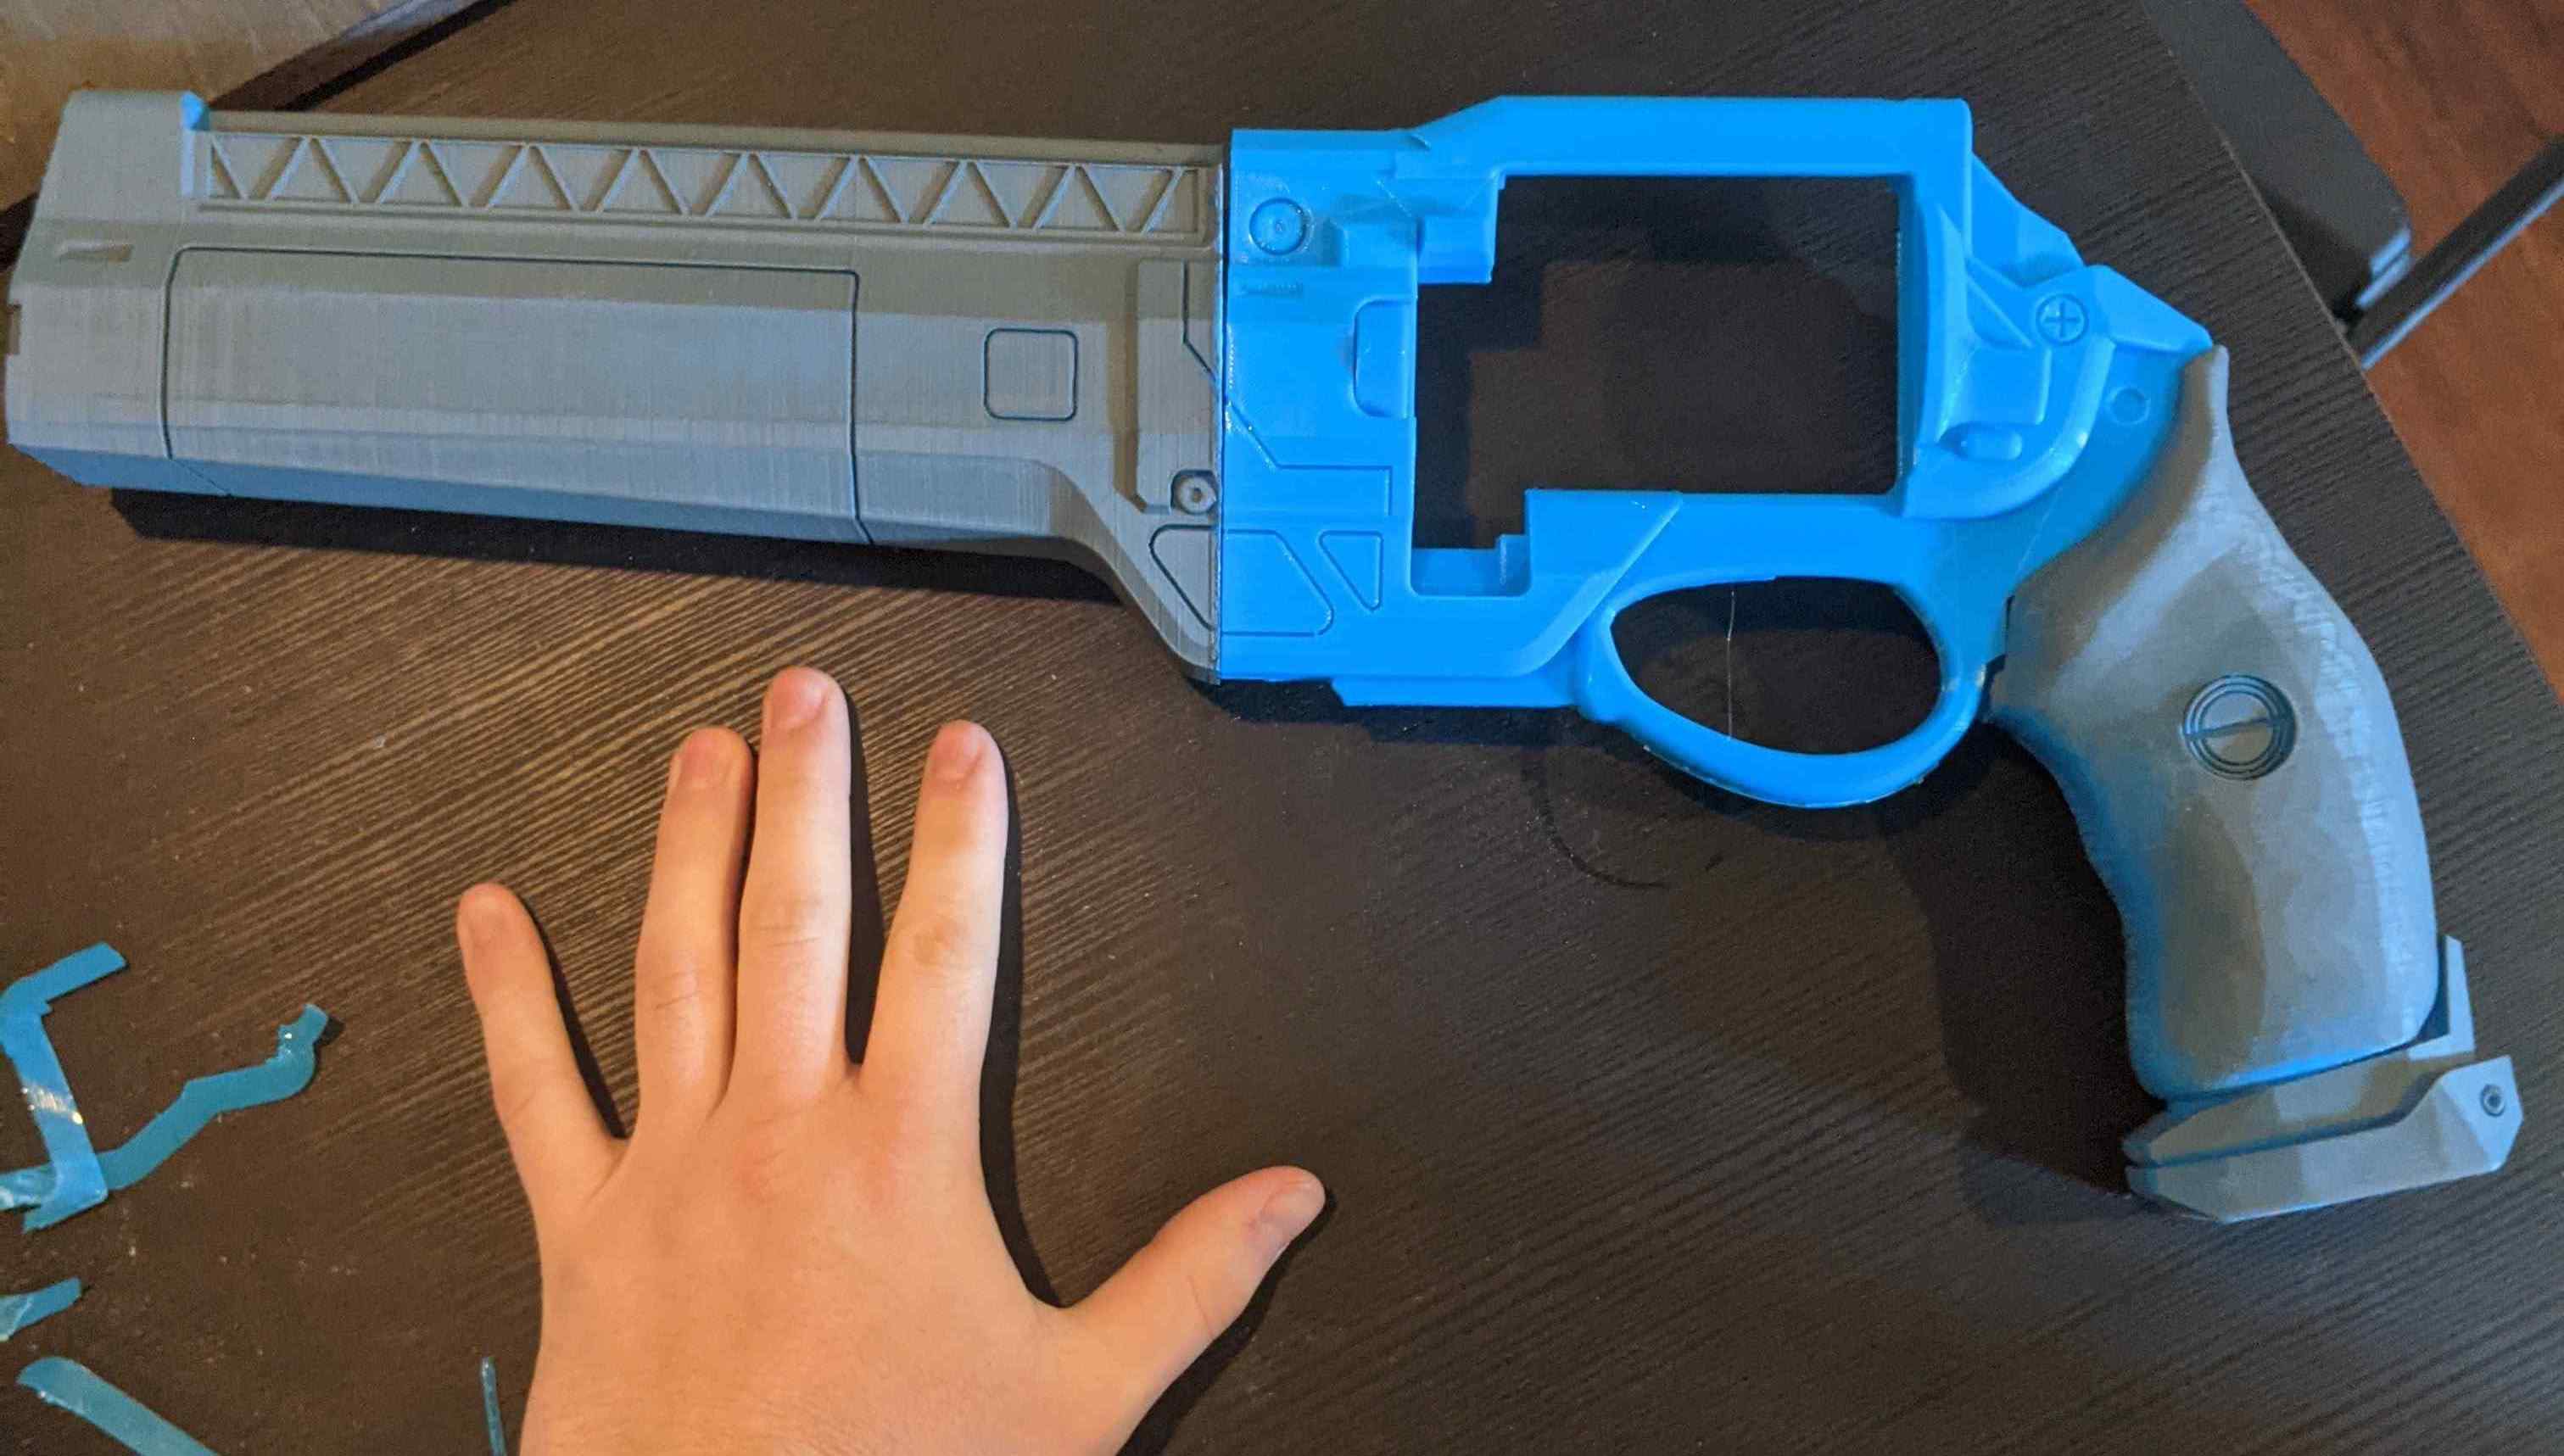
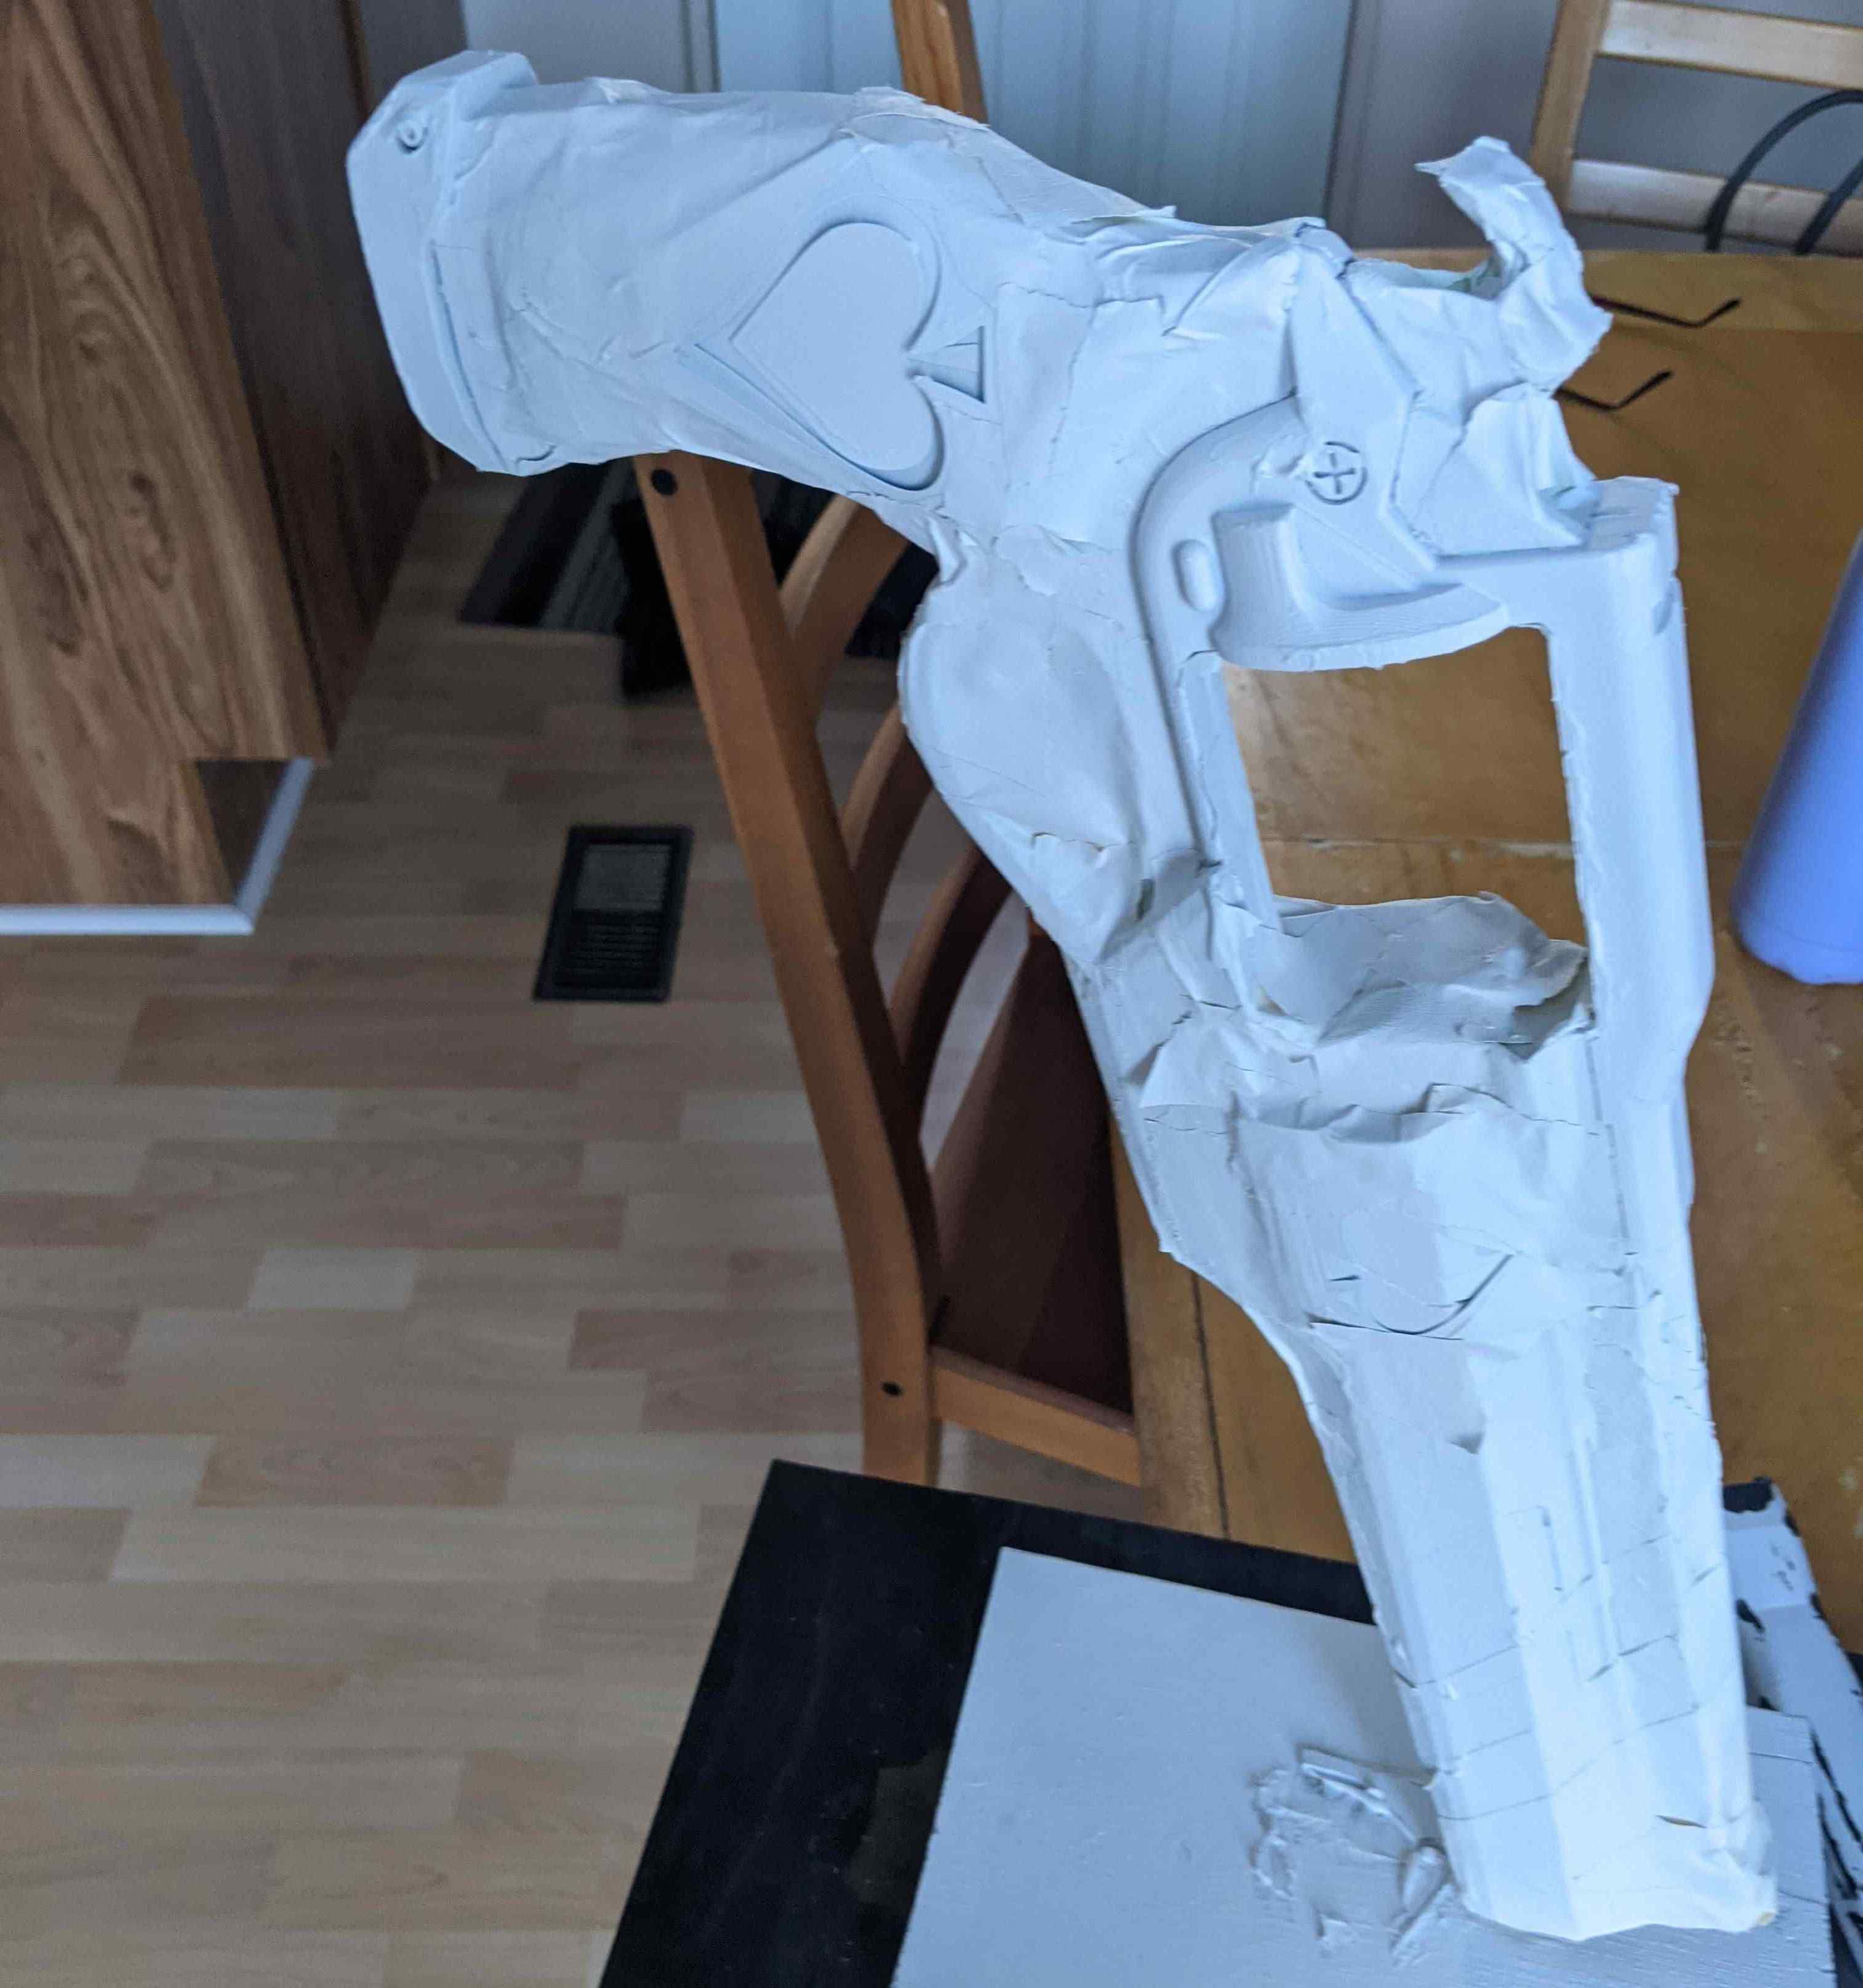
The printing went smoothly. Only minor issue was that I was printing everything at 100% scale while the model maker recommended to print it at 80%. The result is a comically large gun. See the picture with my hand for scale.
Assembly
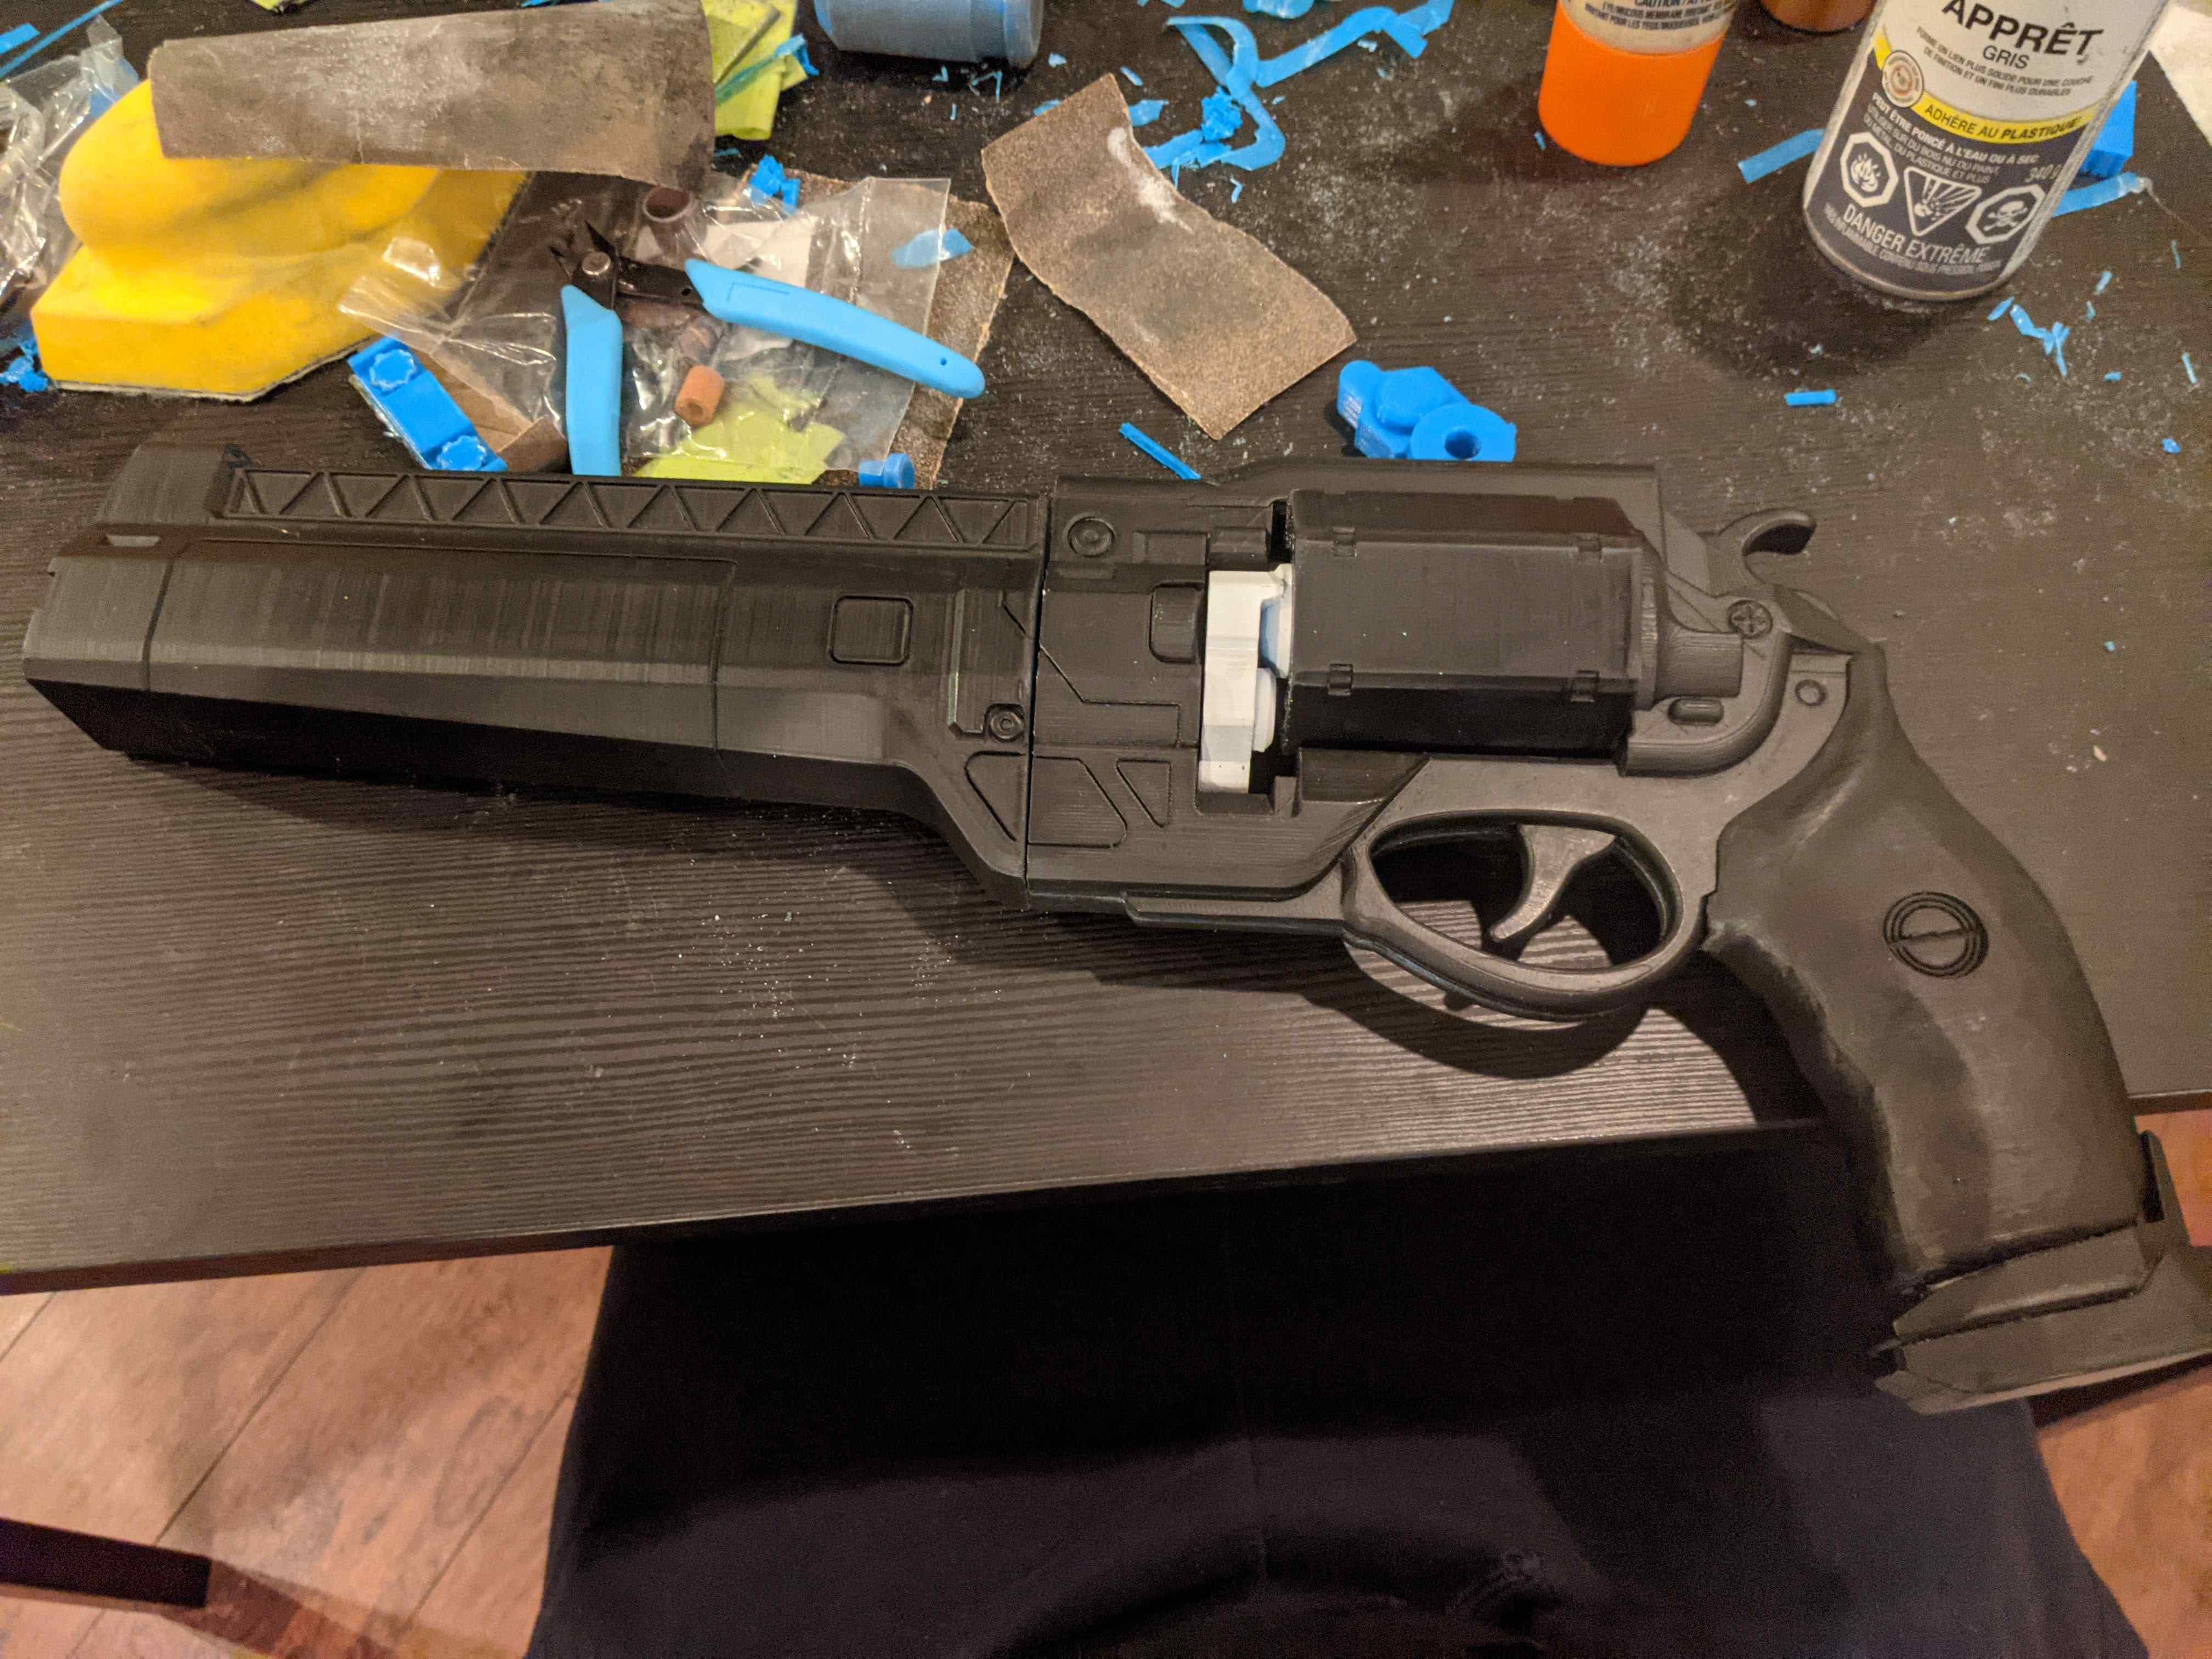
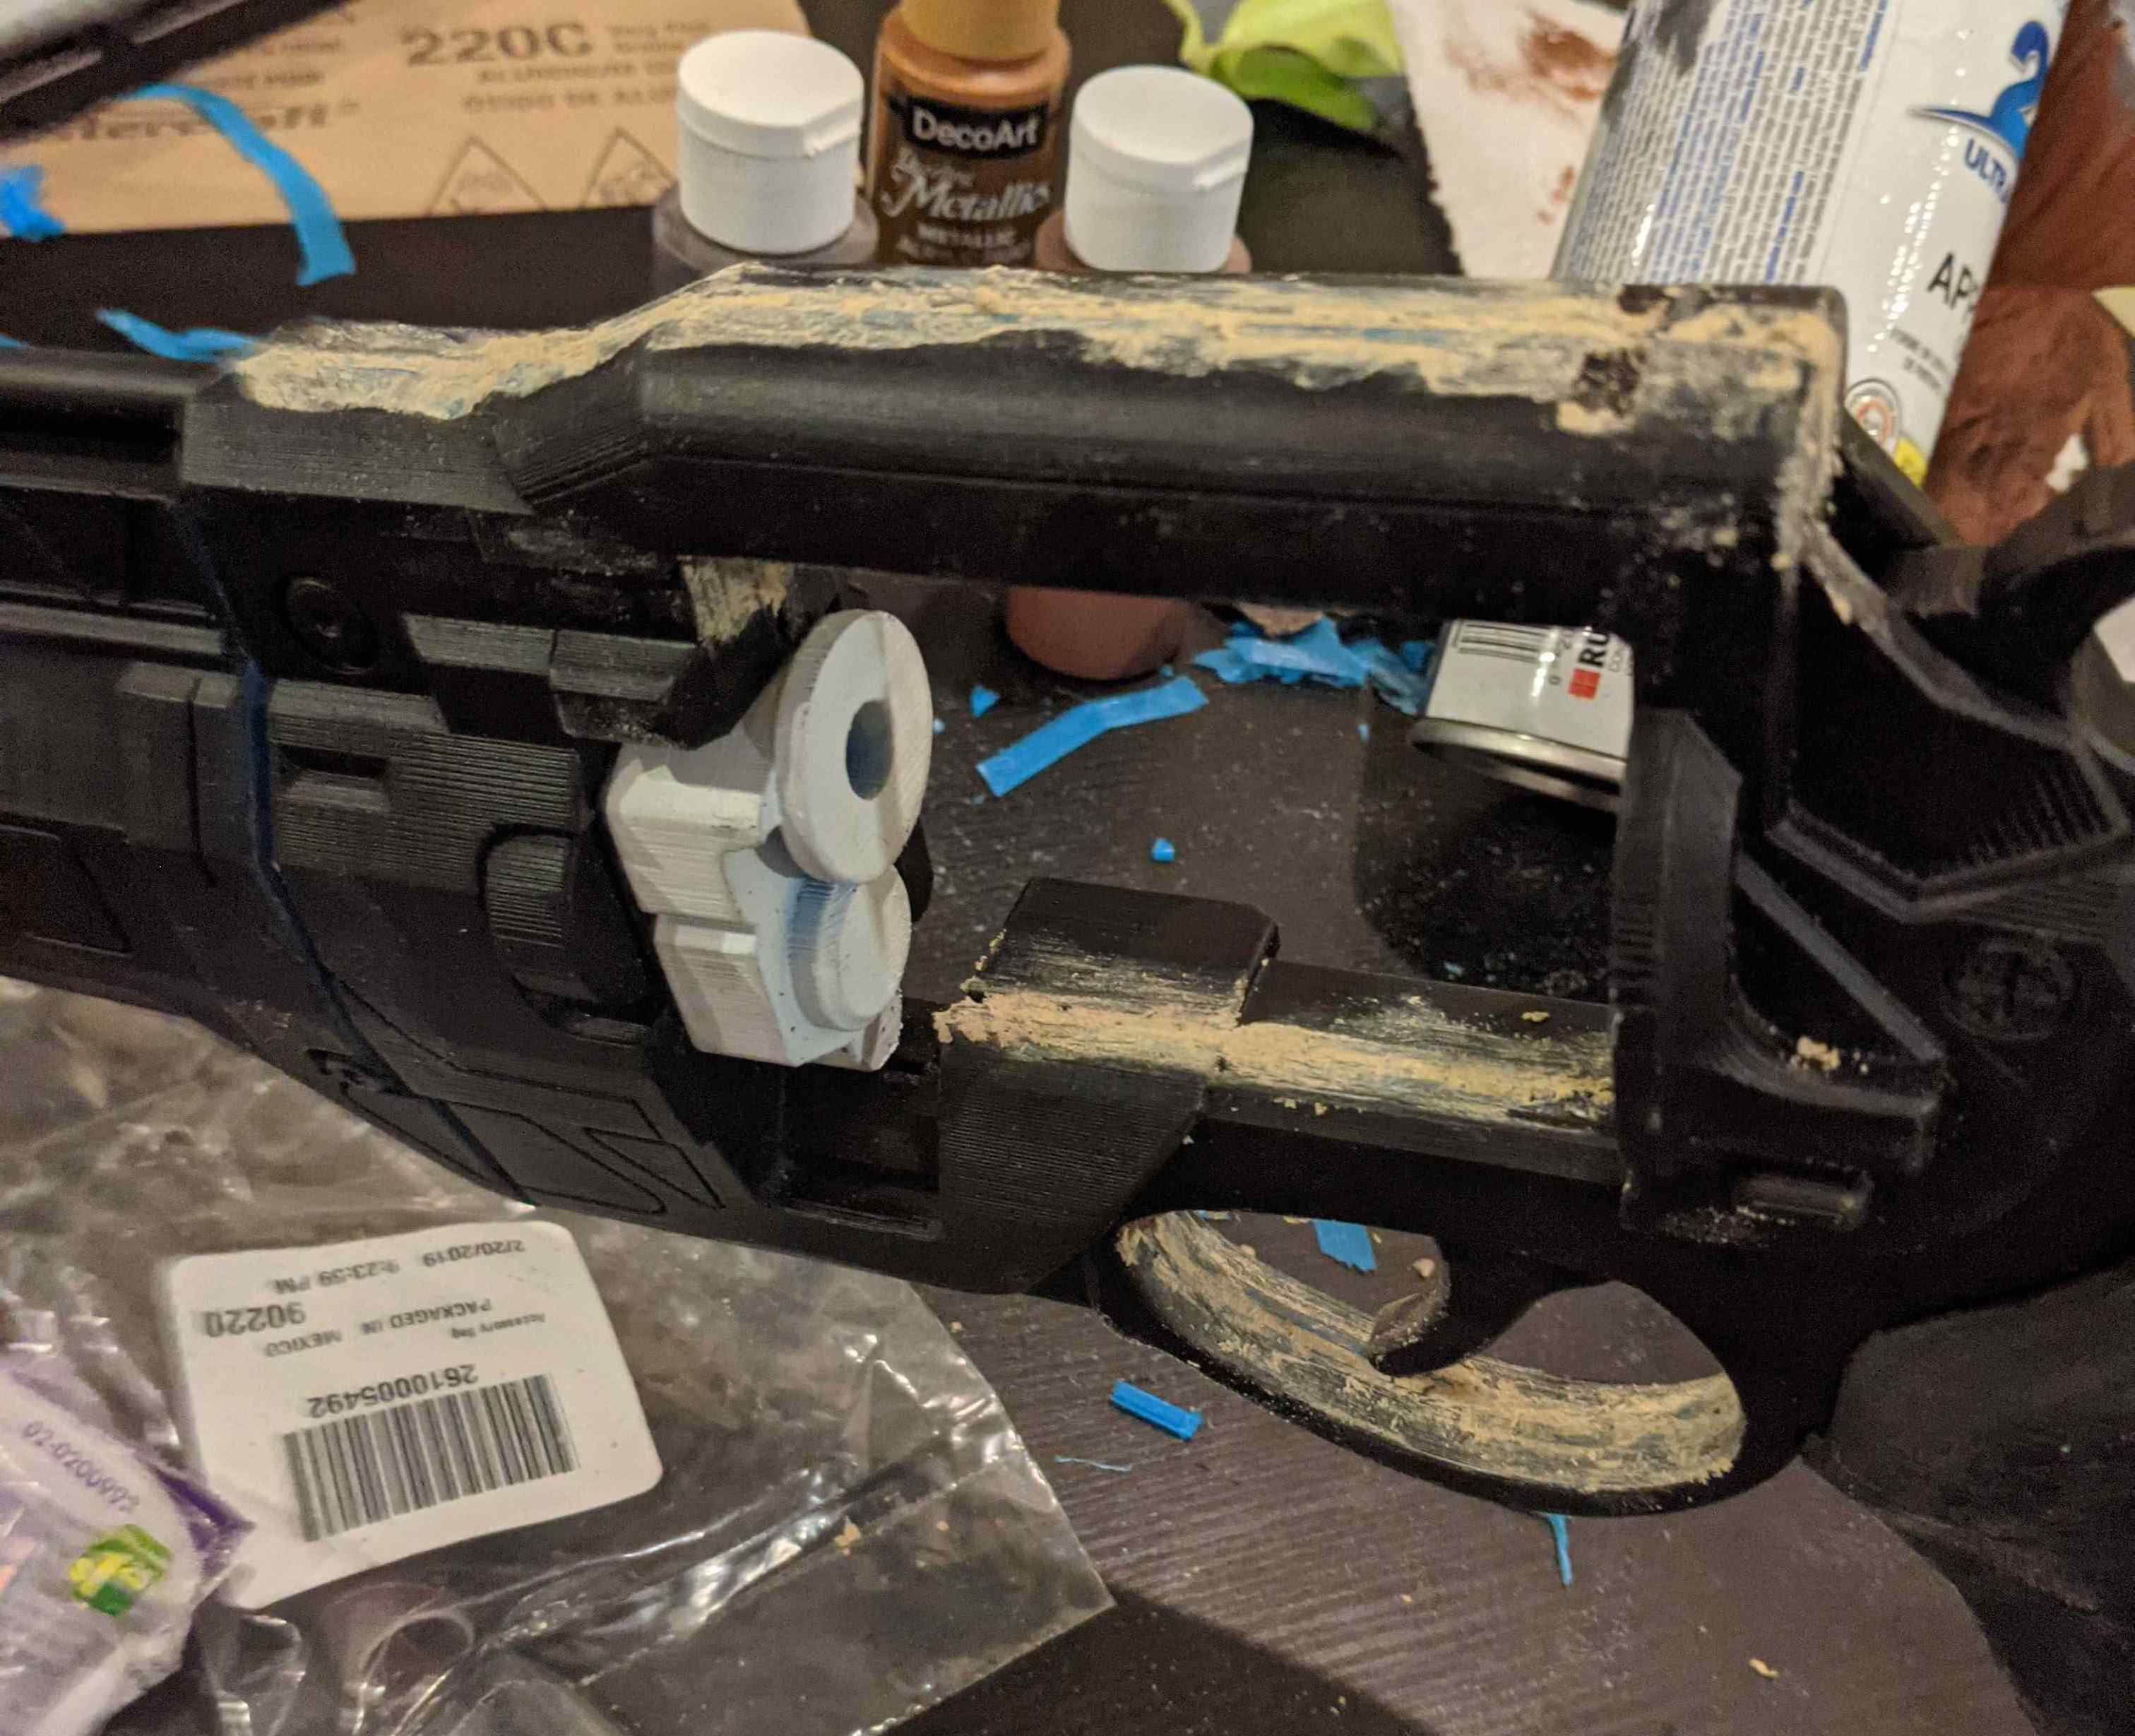
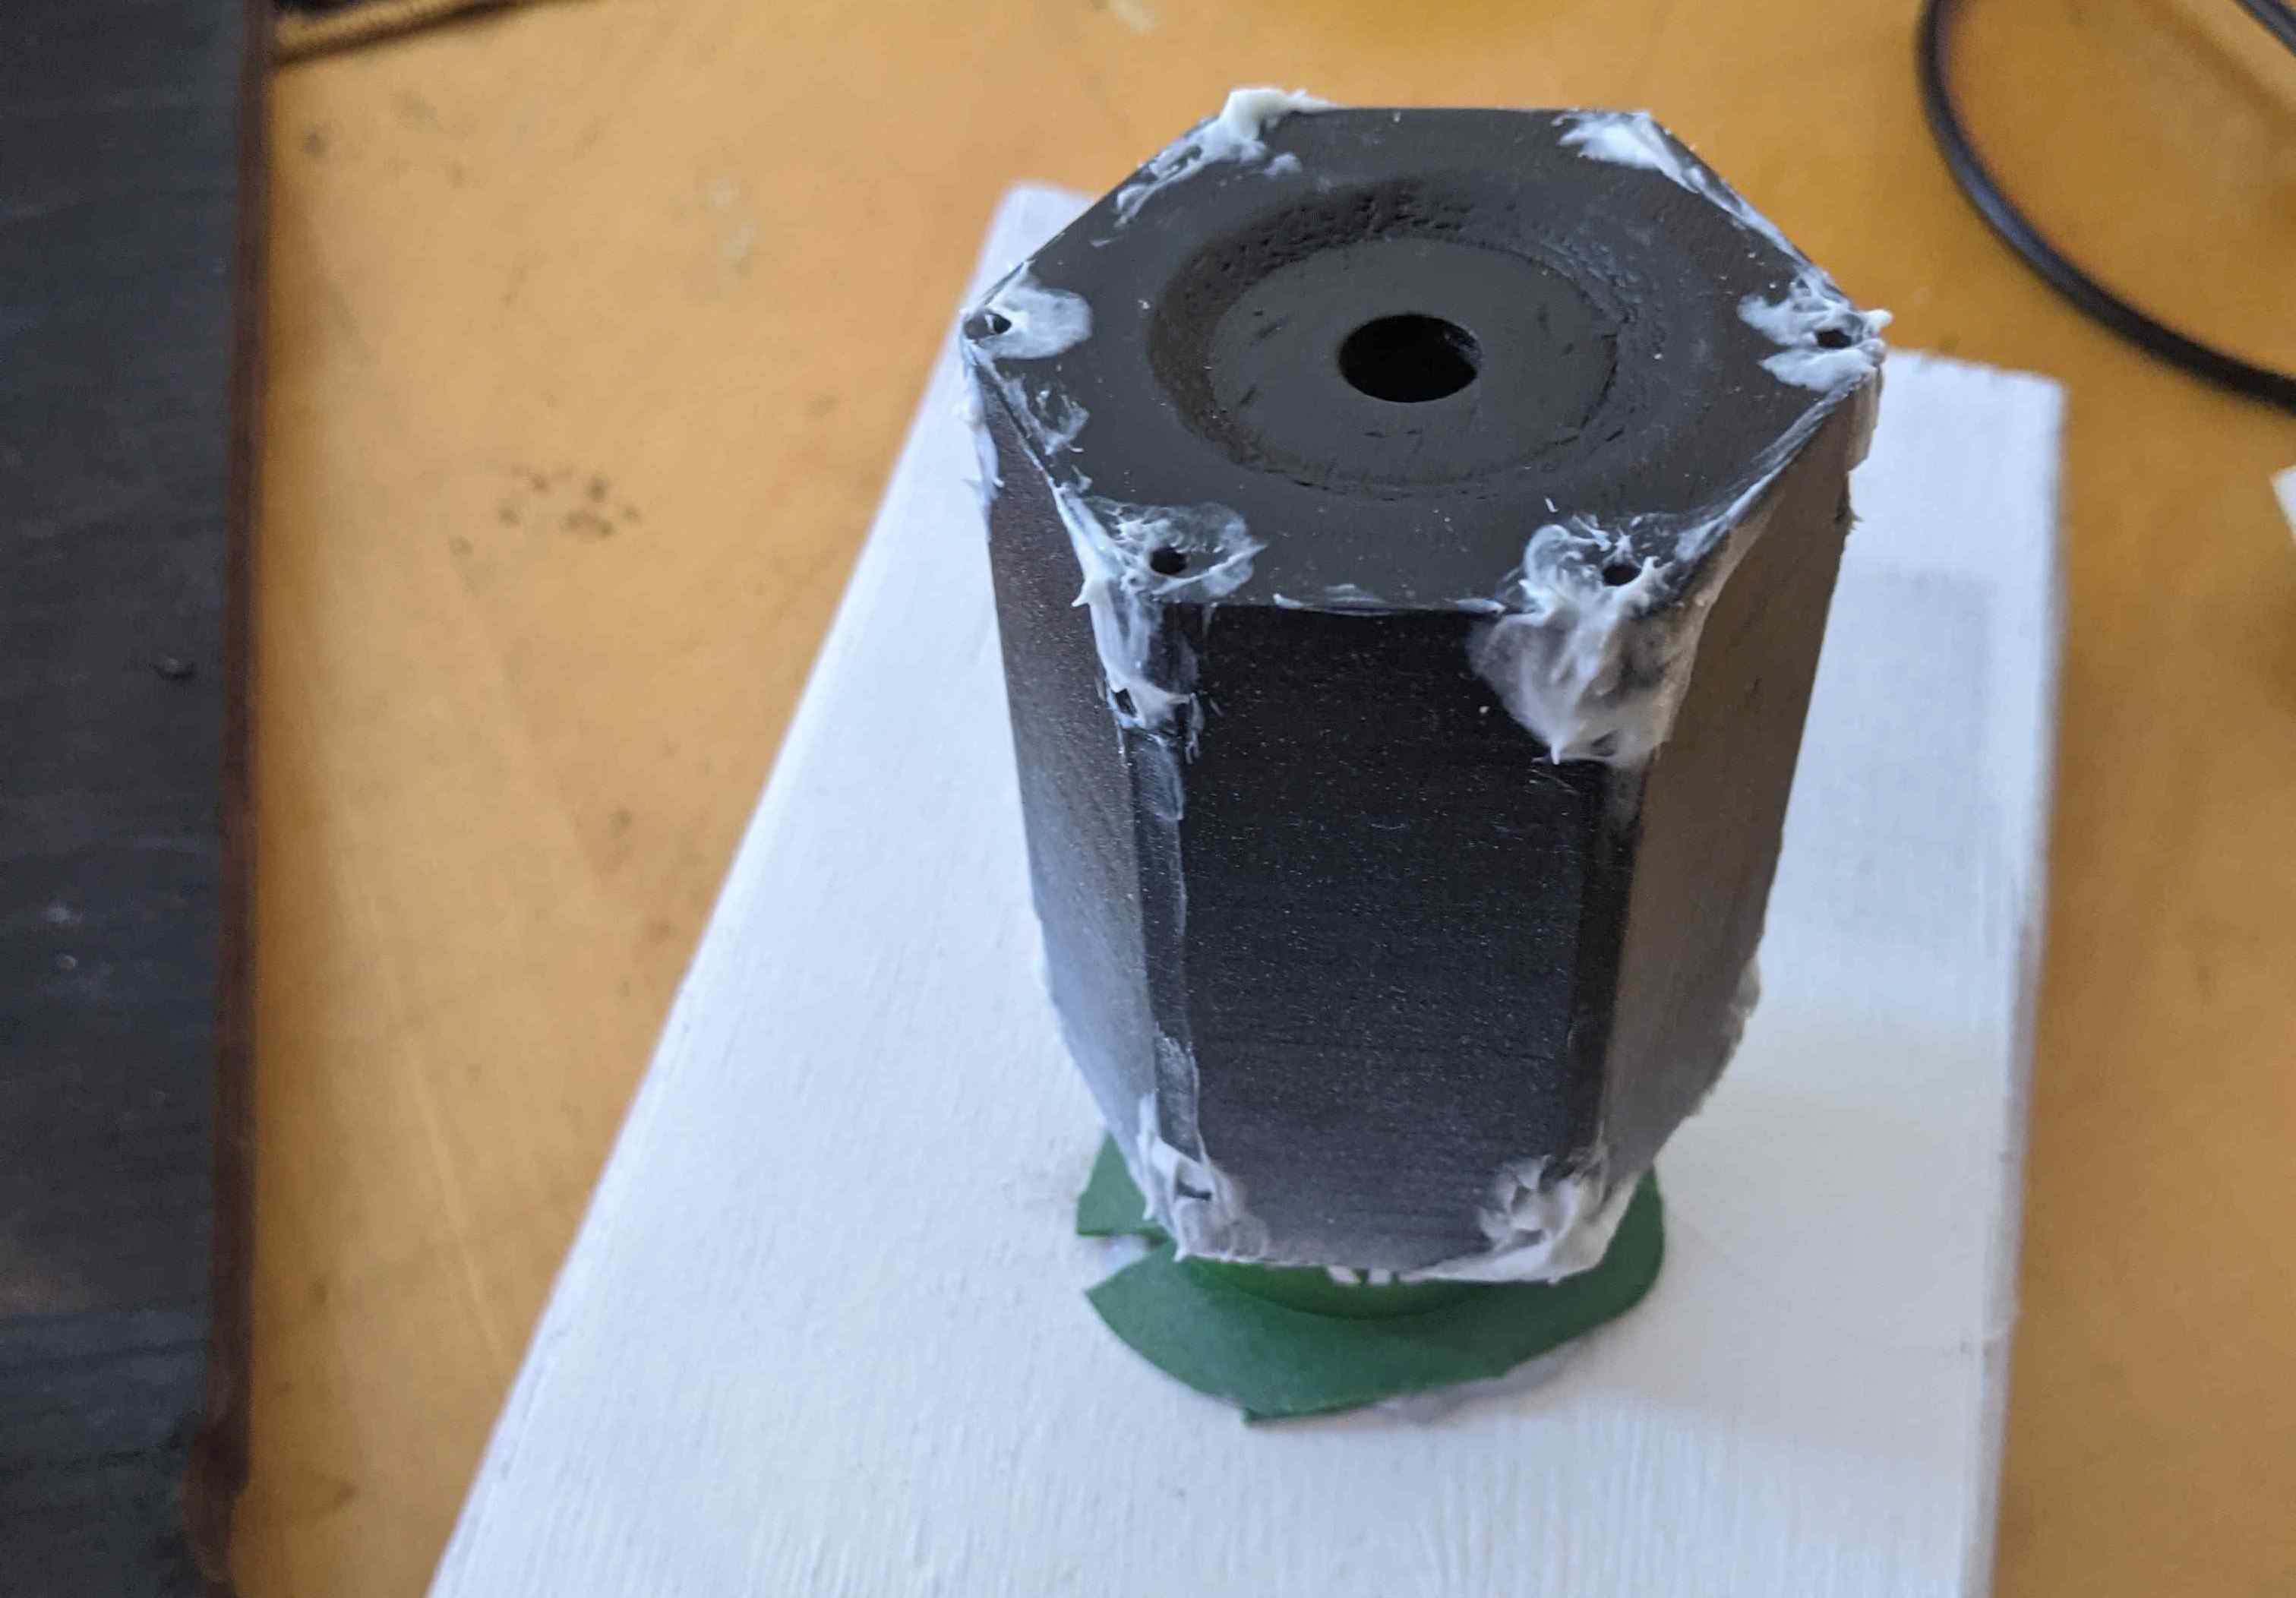
After some minor sanding, I started priming with spray paint. Instead of sanding until the 3D printed layer lines are gone, I primed heavily to fill the layer gaps instead. I would prime, then sand until I would start seeing plastic on the tall layer lines again. Repeated that process 3 times on average.
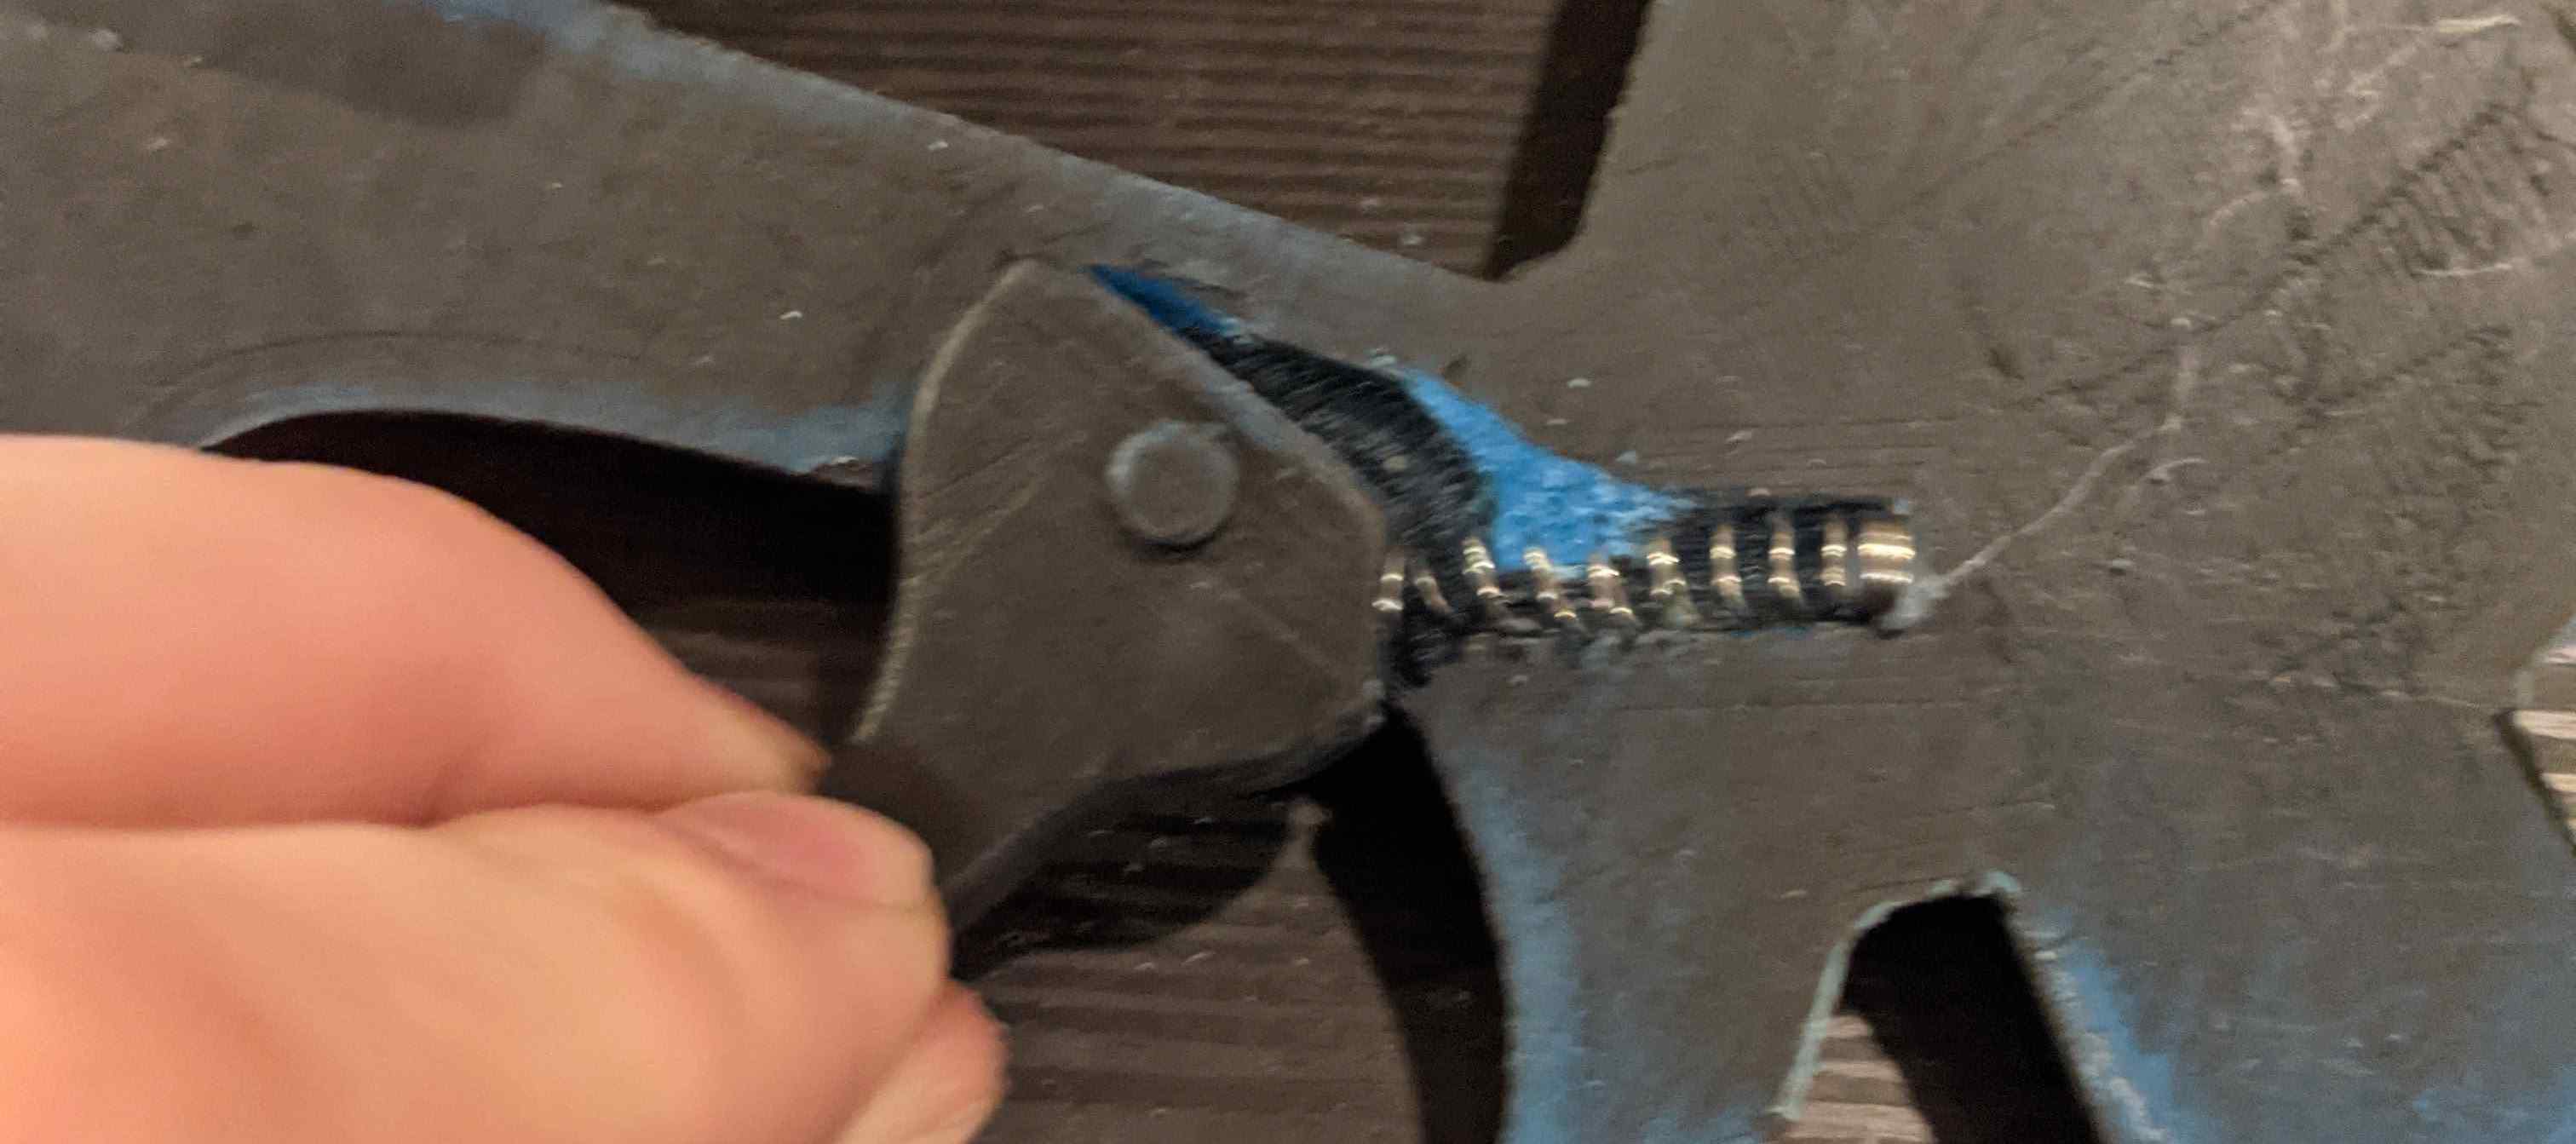
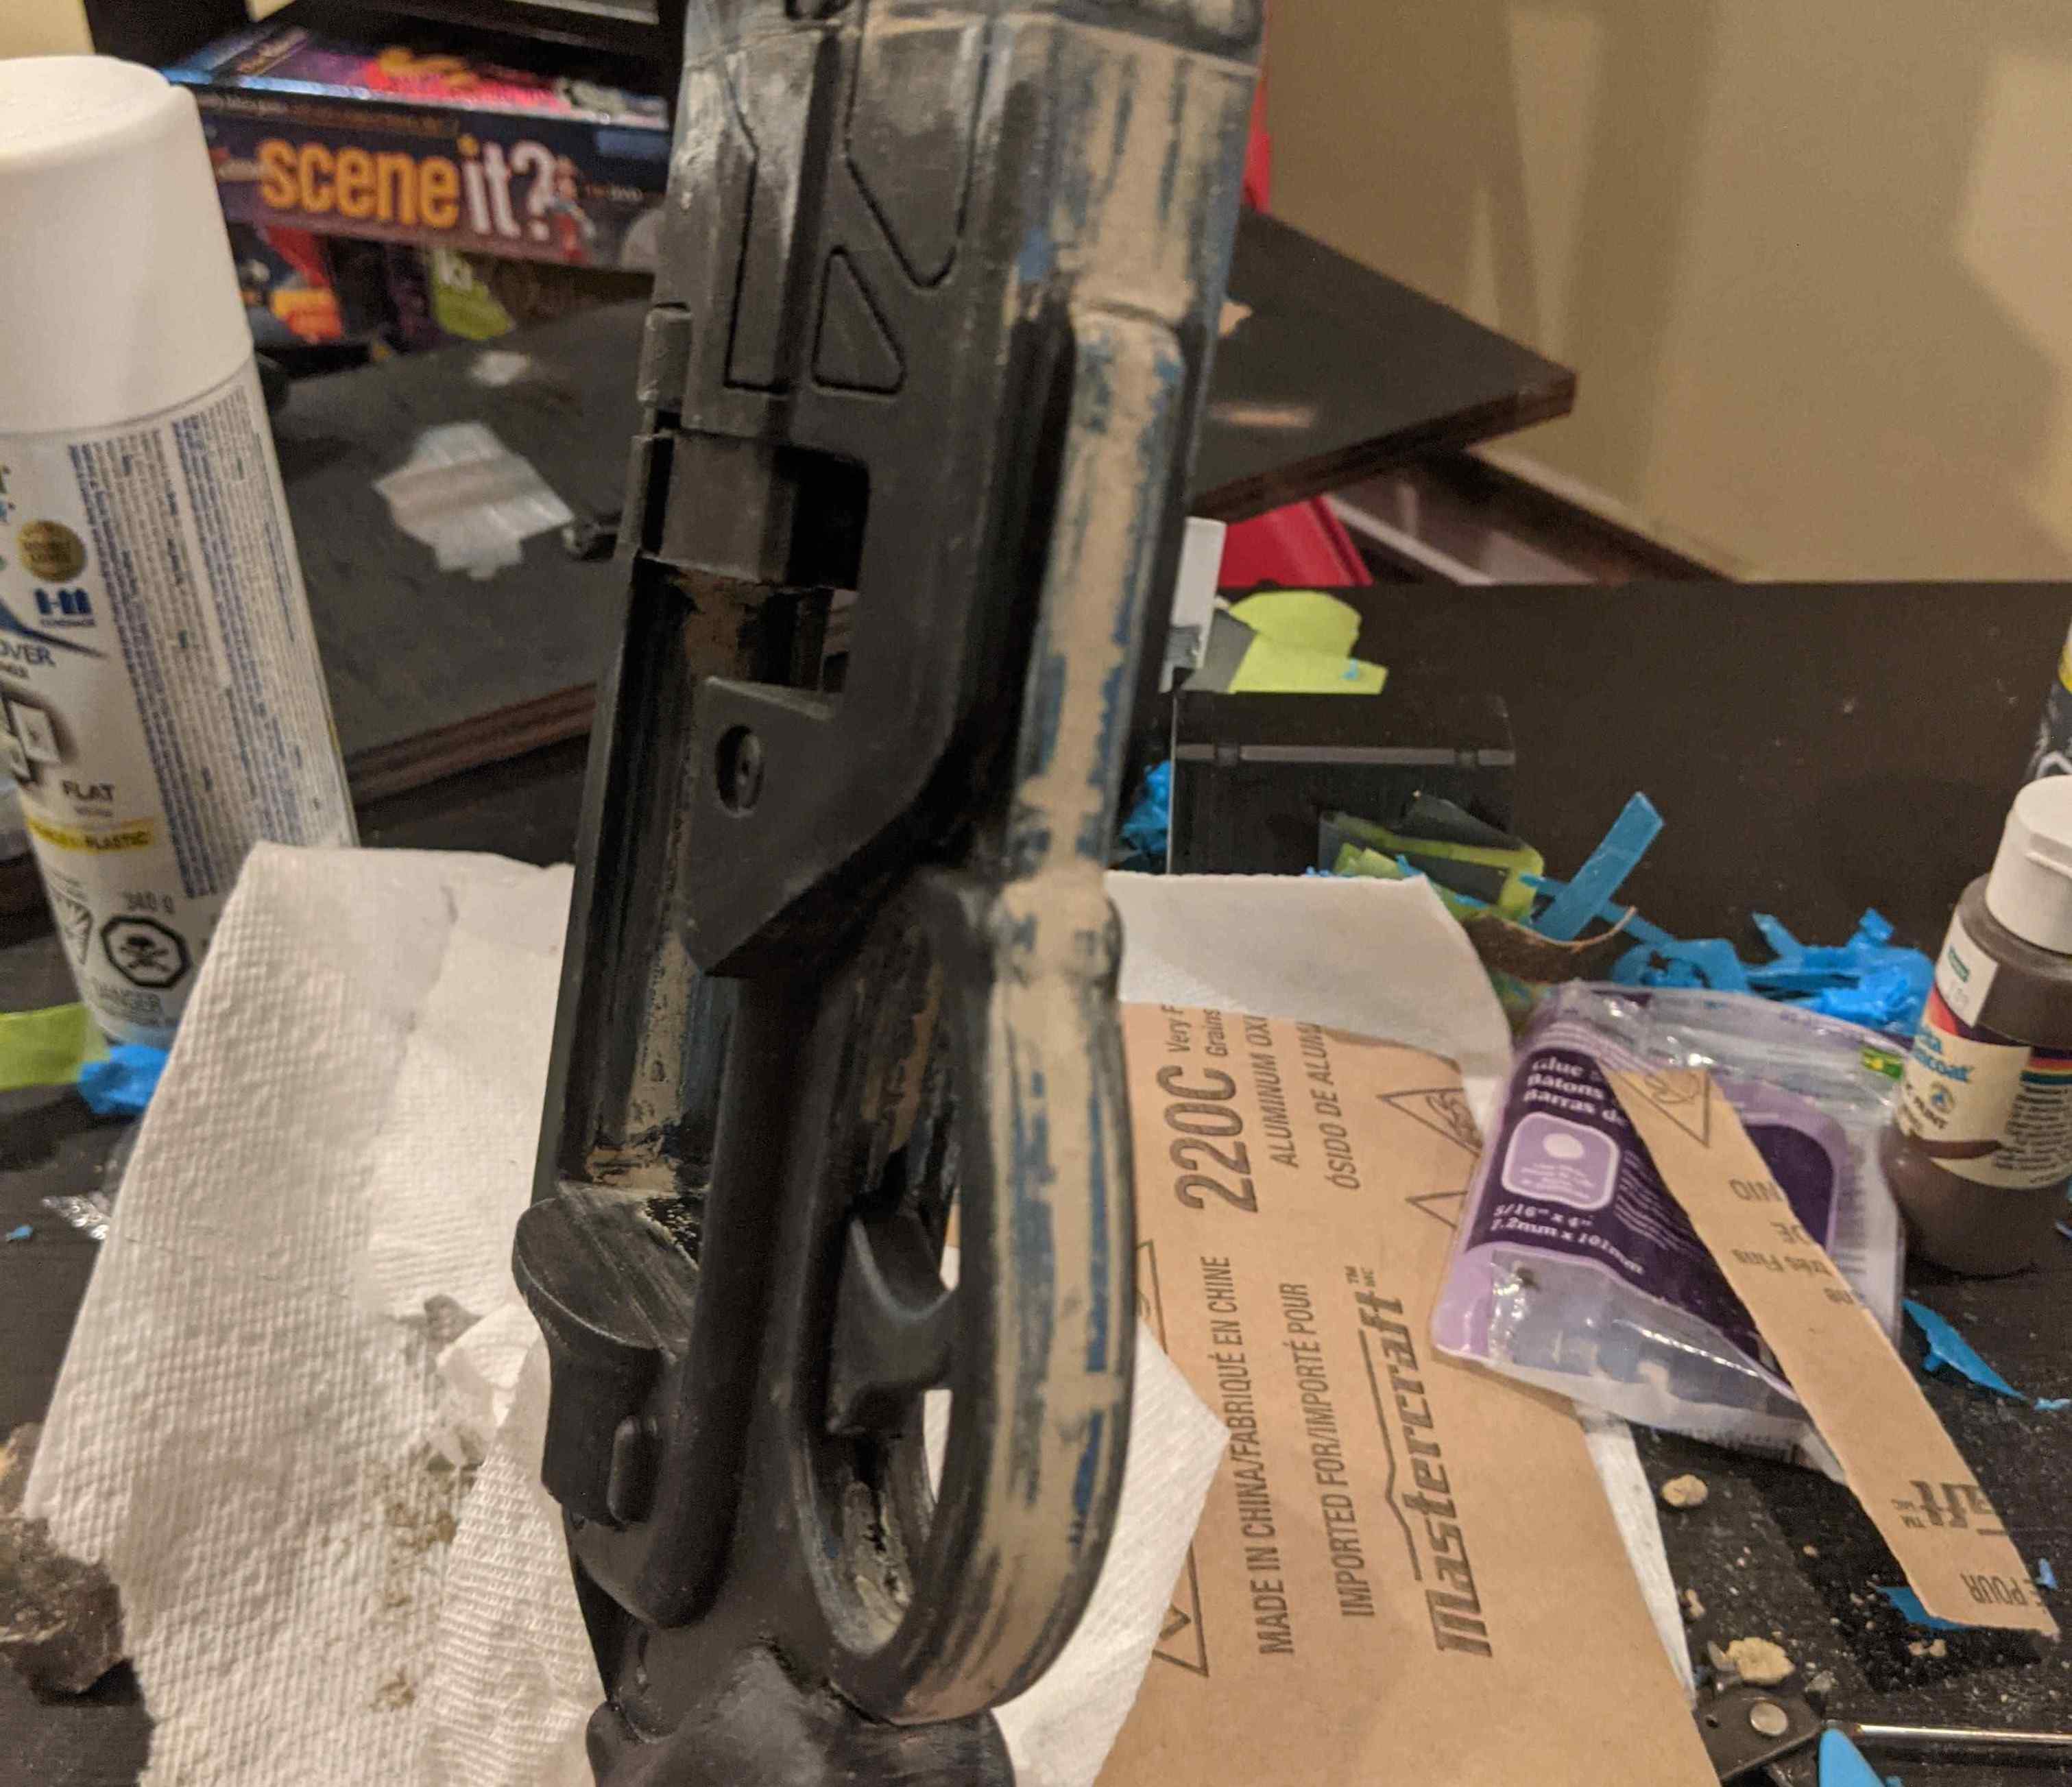
The model had the opportunity to have moving parts. The trigger could be fitted with a spring from a pen to give a more realistic feel to this plastic prop. Extra time was spent sanding to ensure accuracy and fluidity of the mechanism. Below is a picture of it. Unfortunately, in final assembly, some glue or putty must have gone in as it doesn’t work anymore.
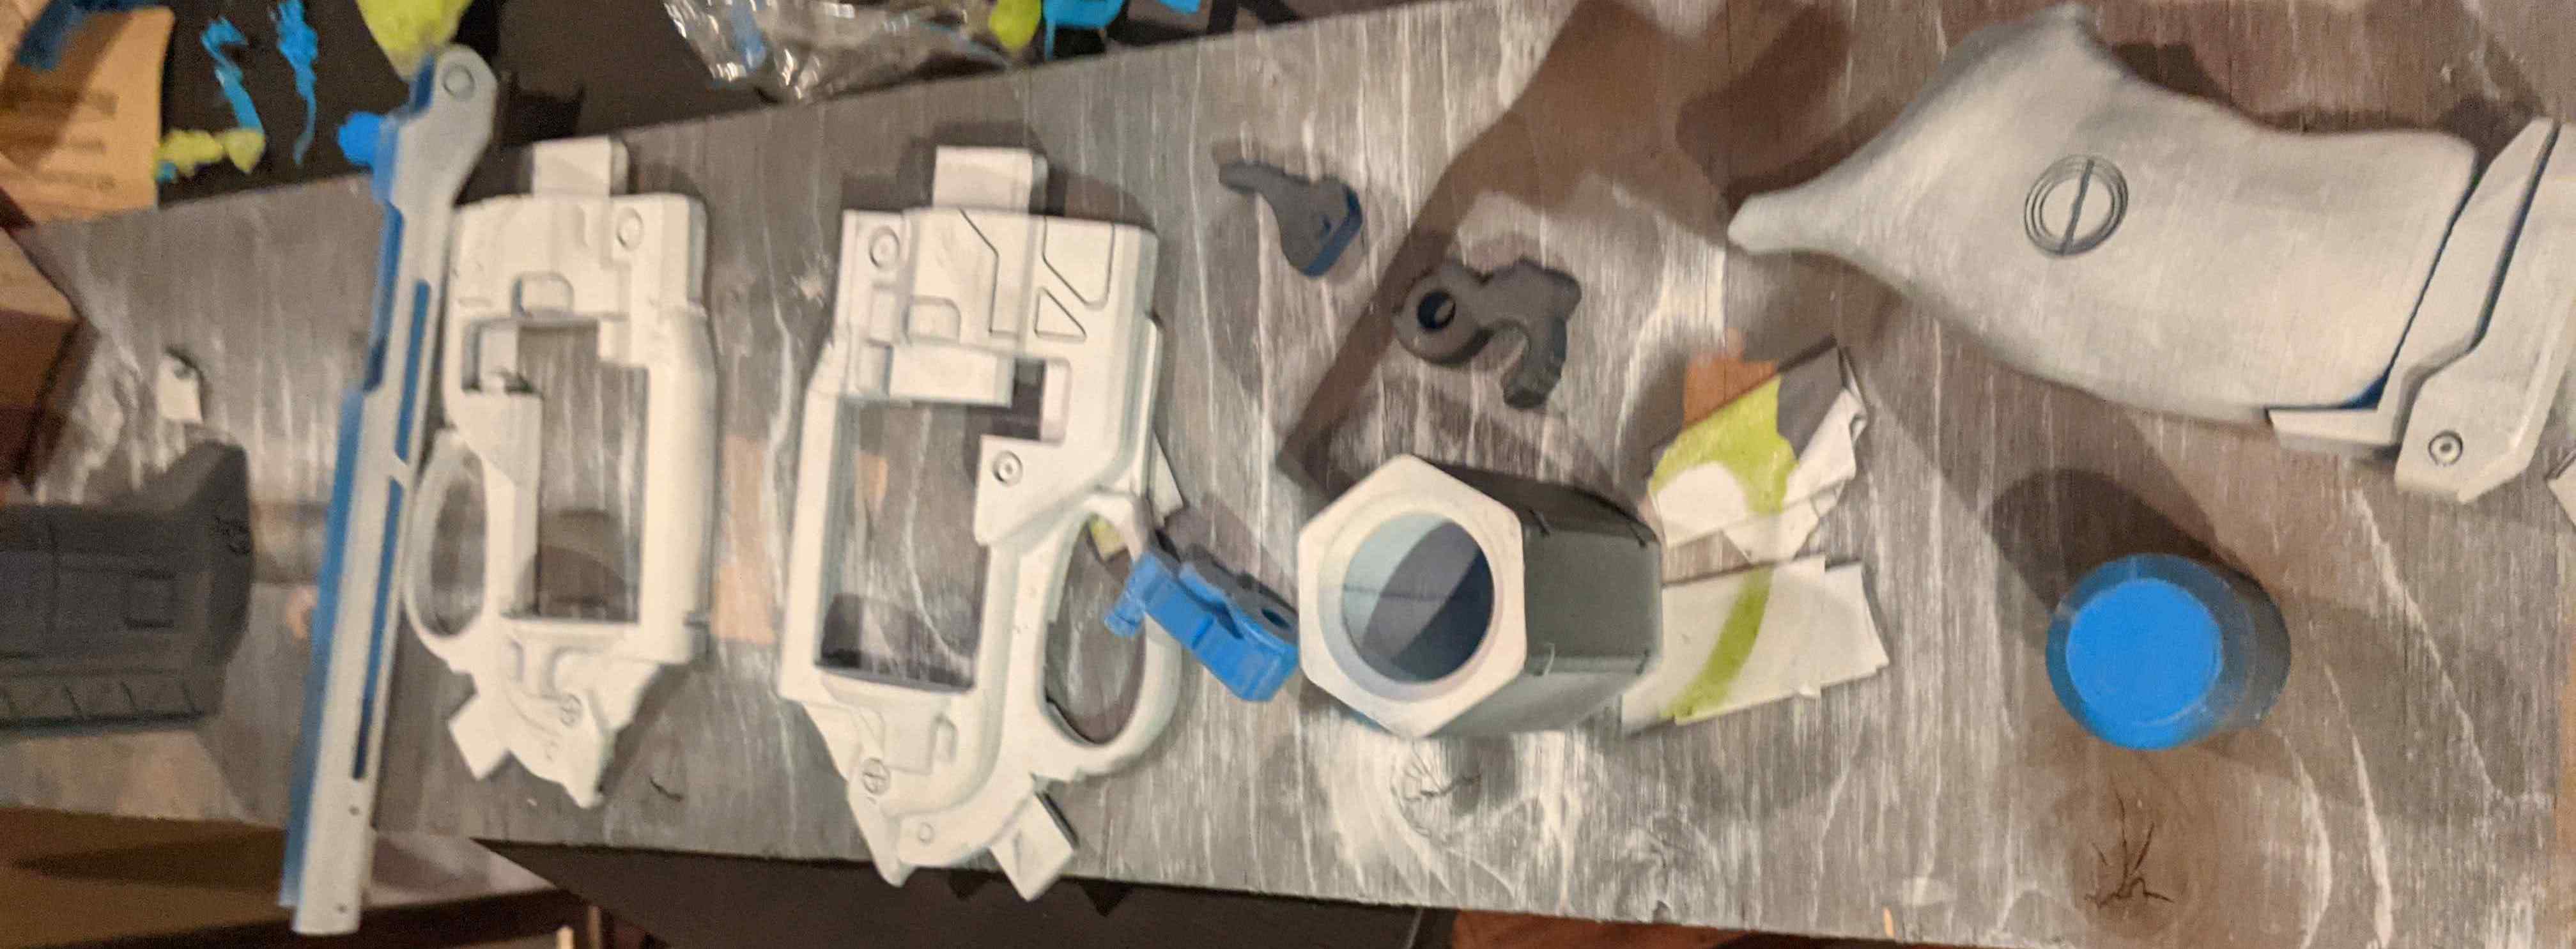
With all the parts ready, they were giving their base color with a test fit.
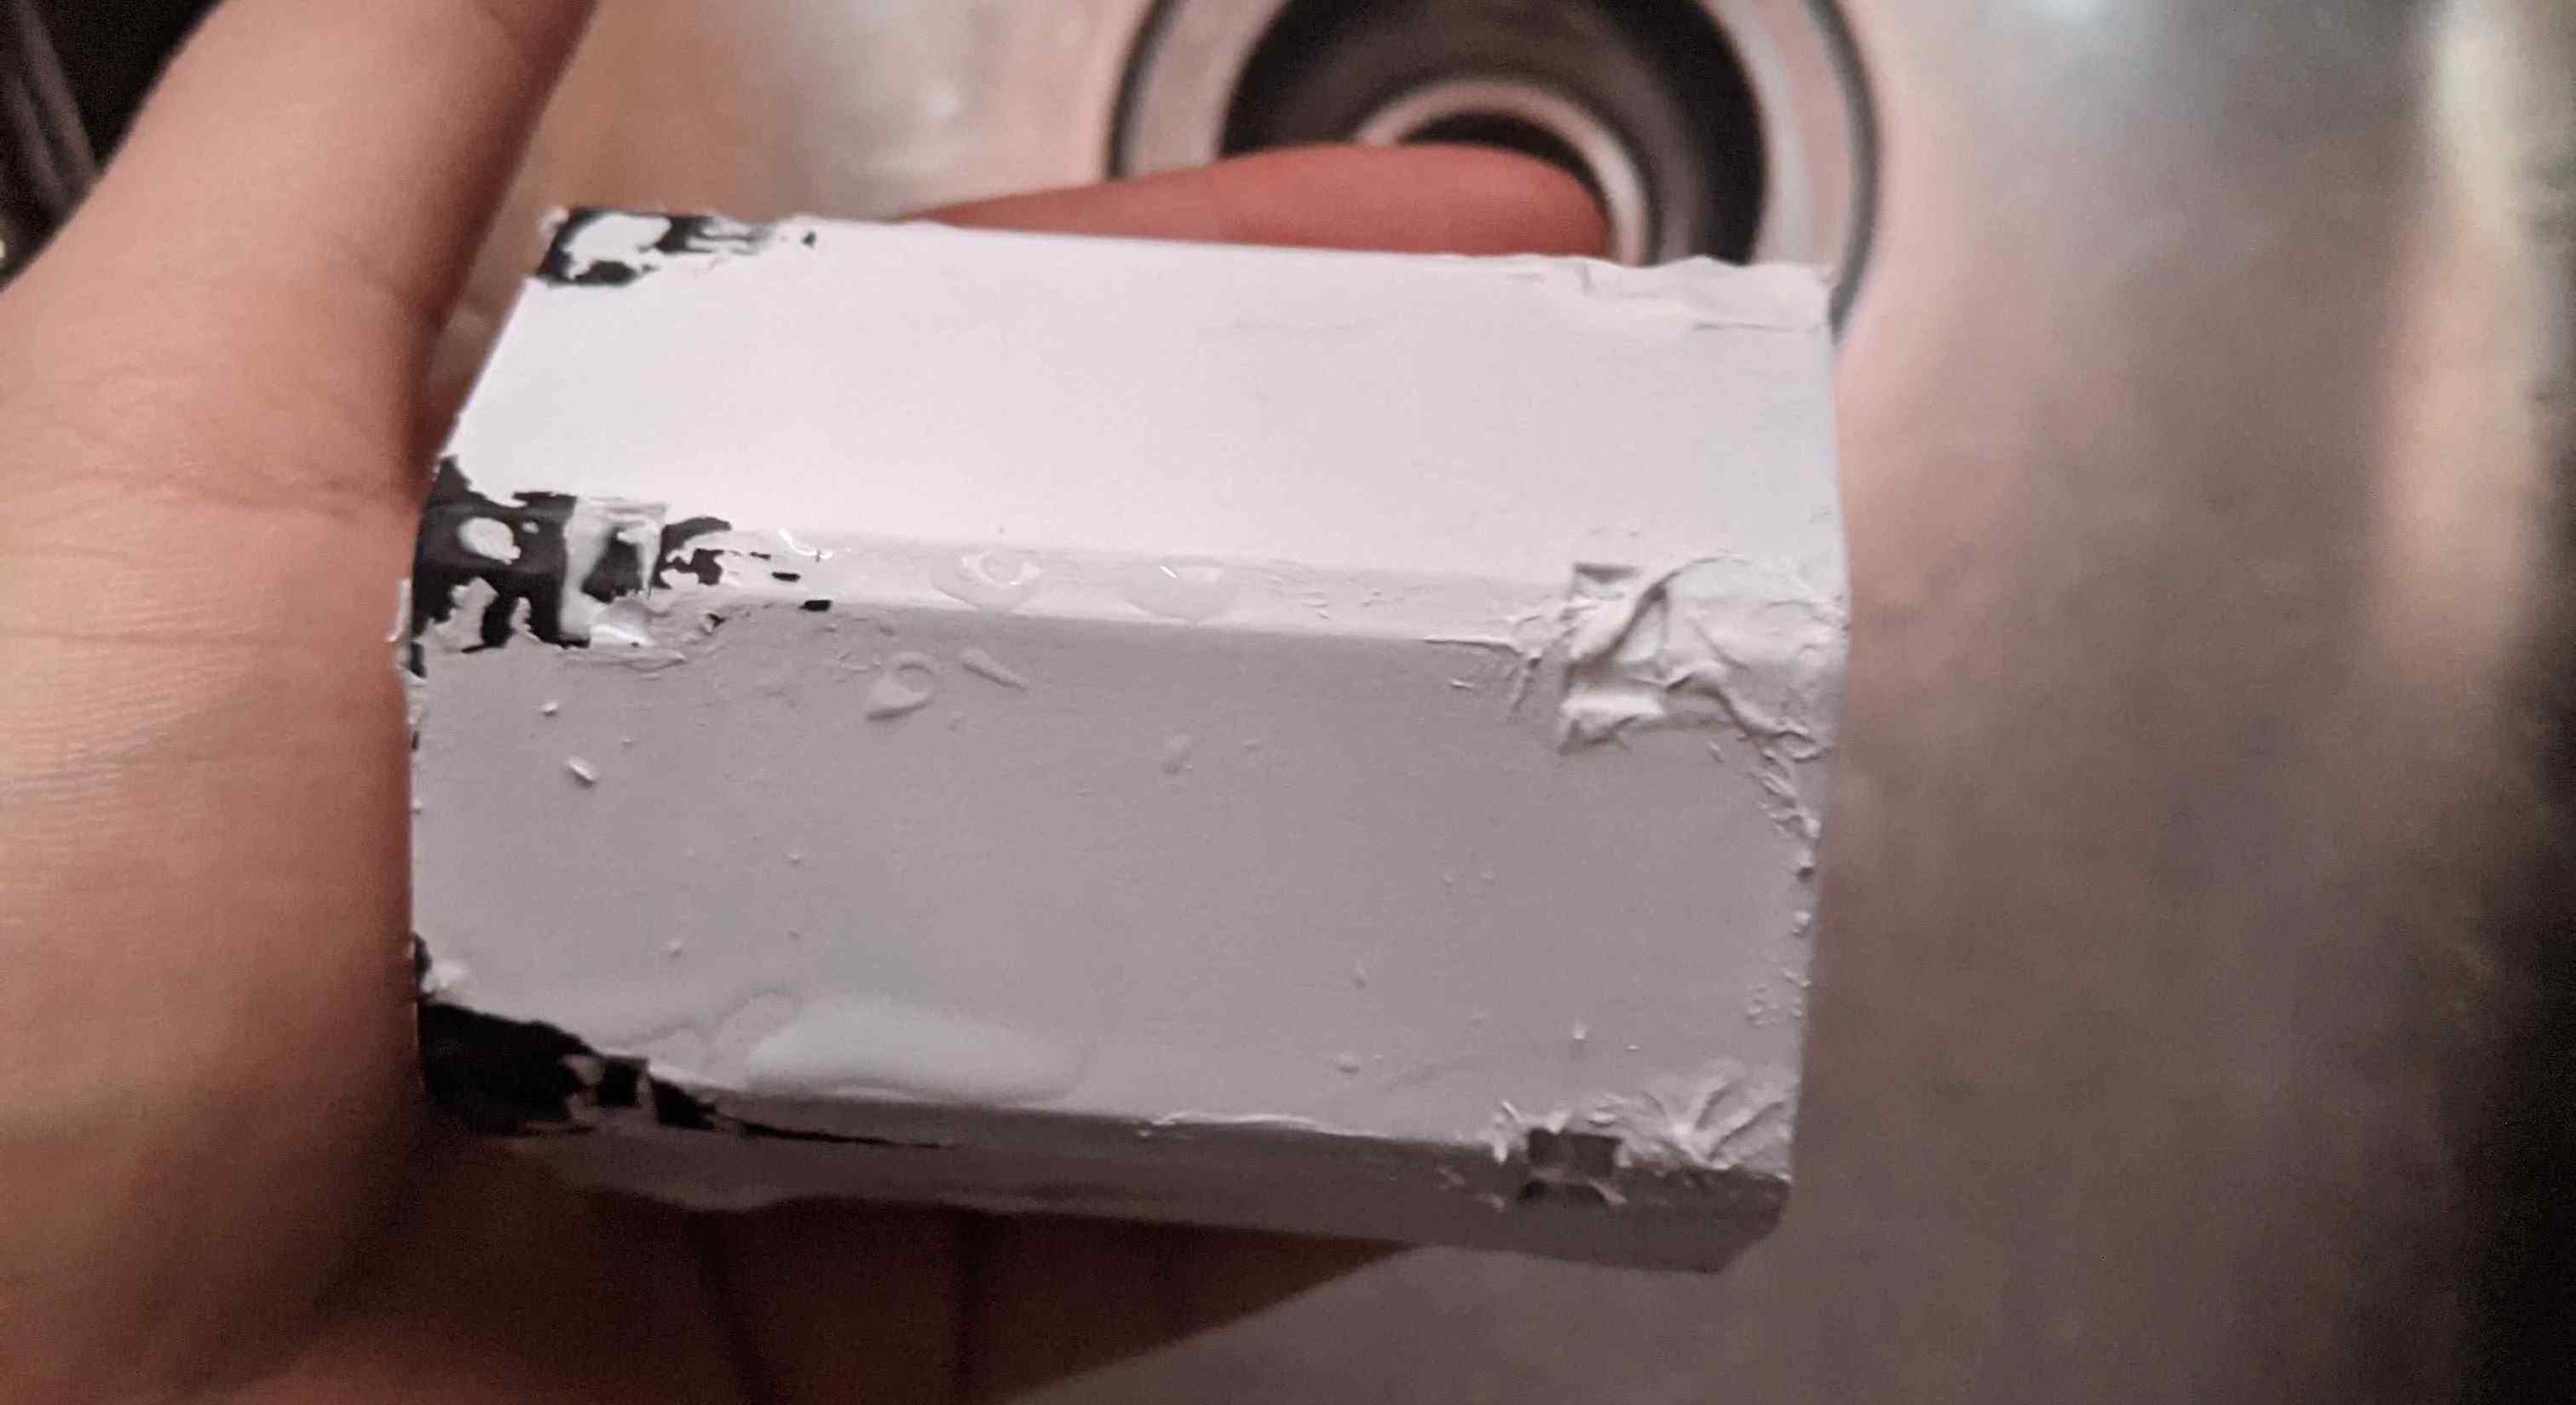
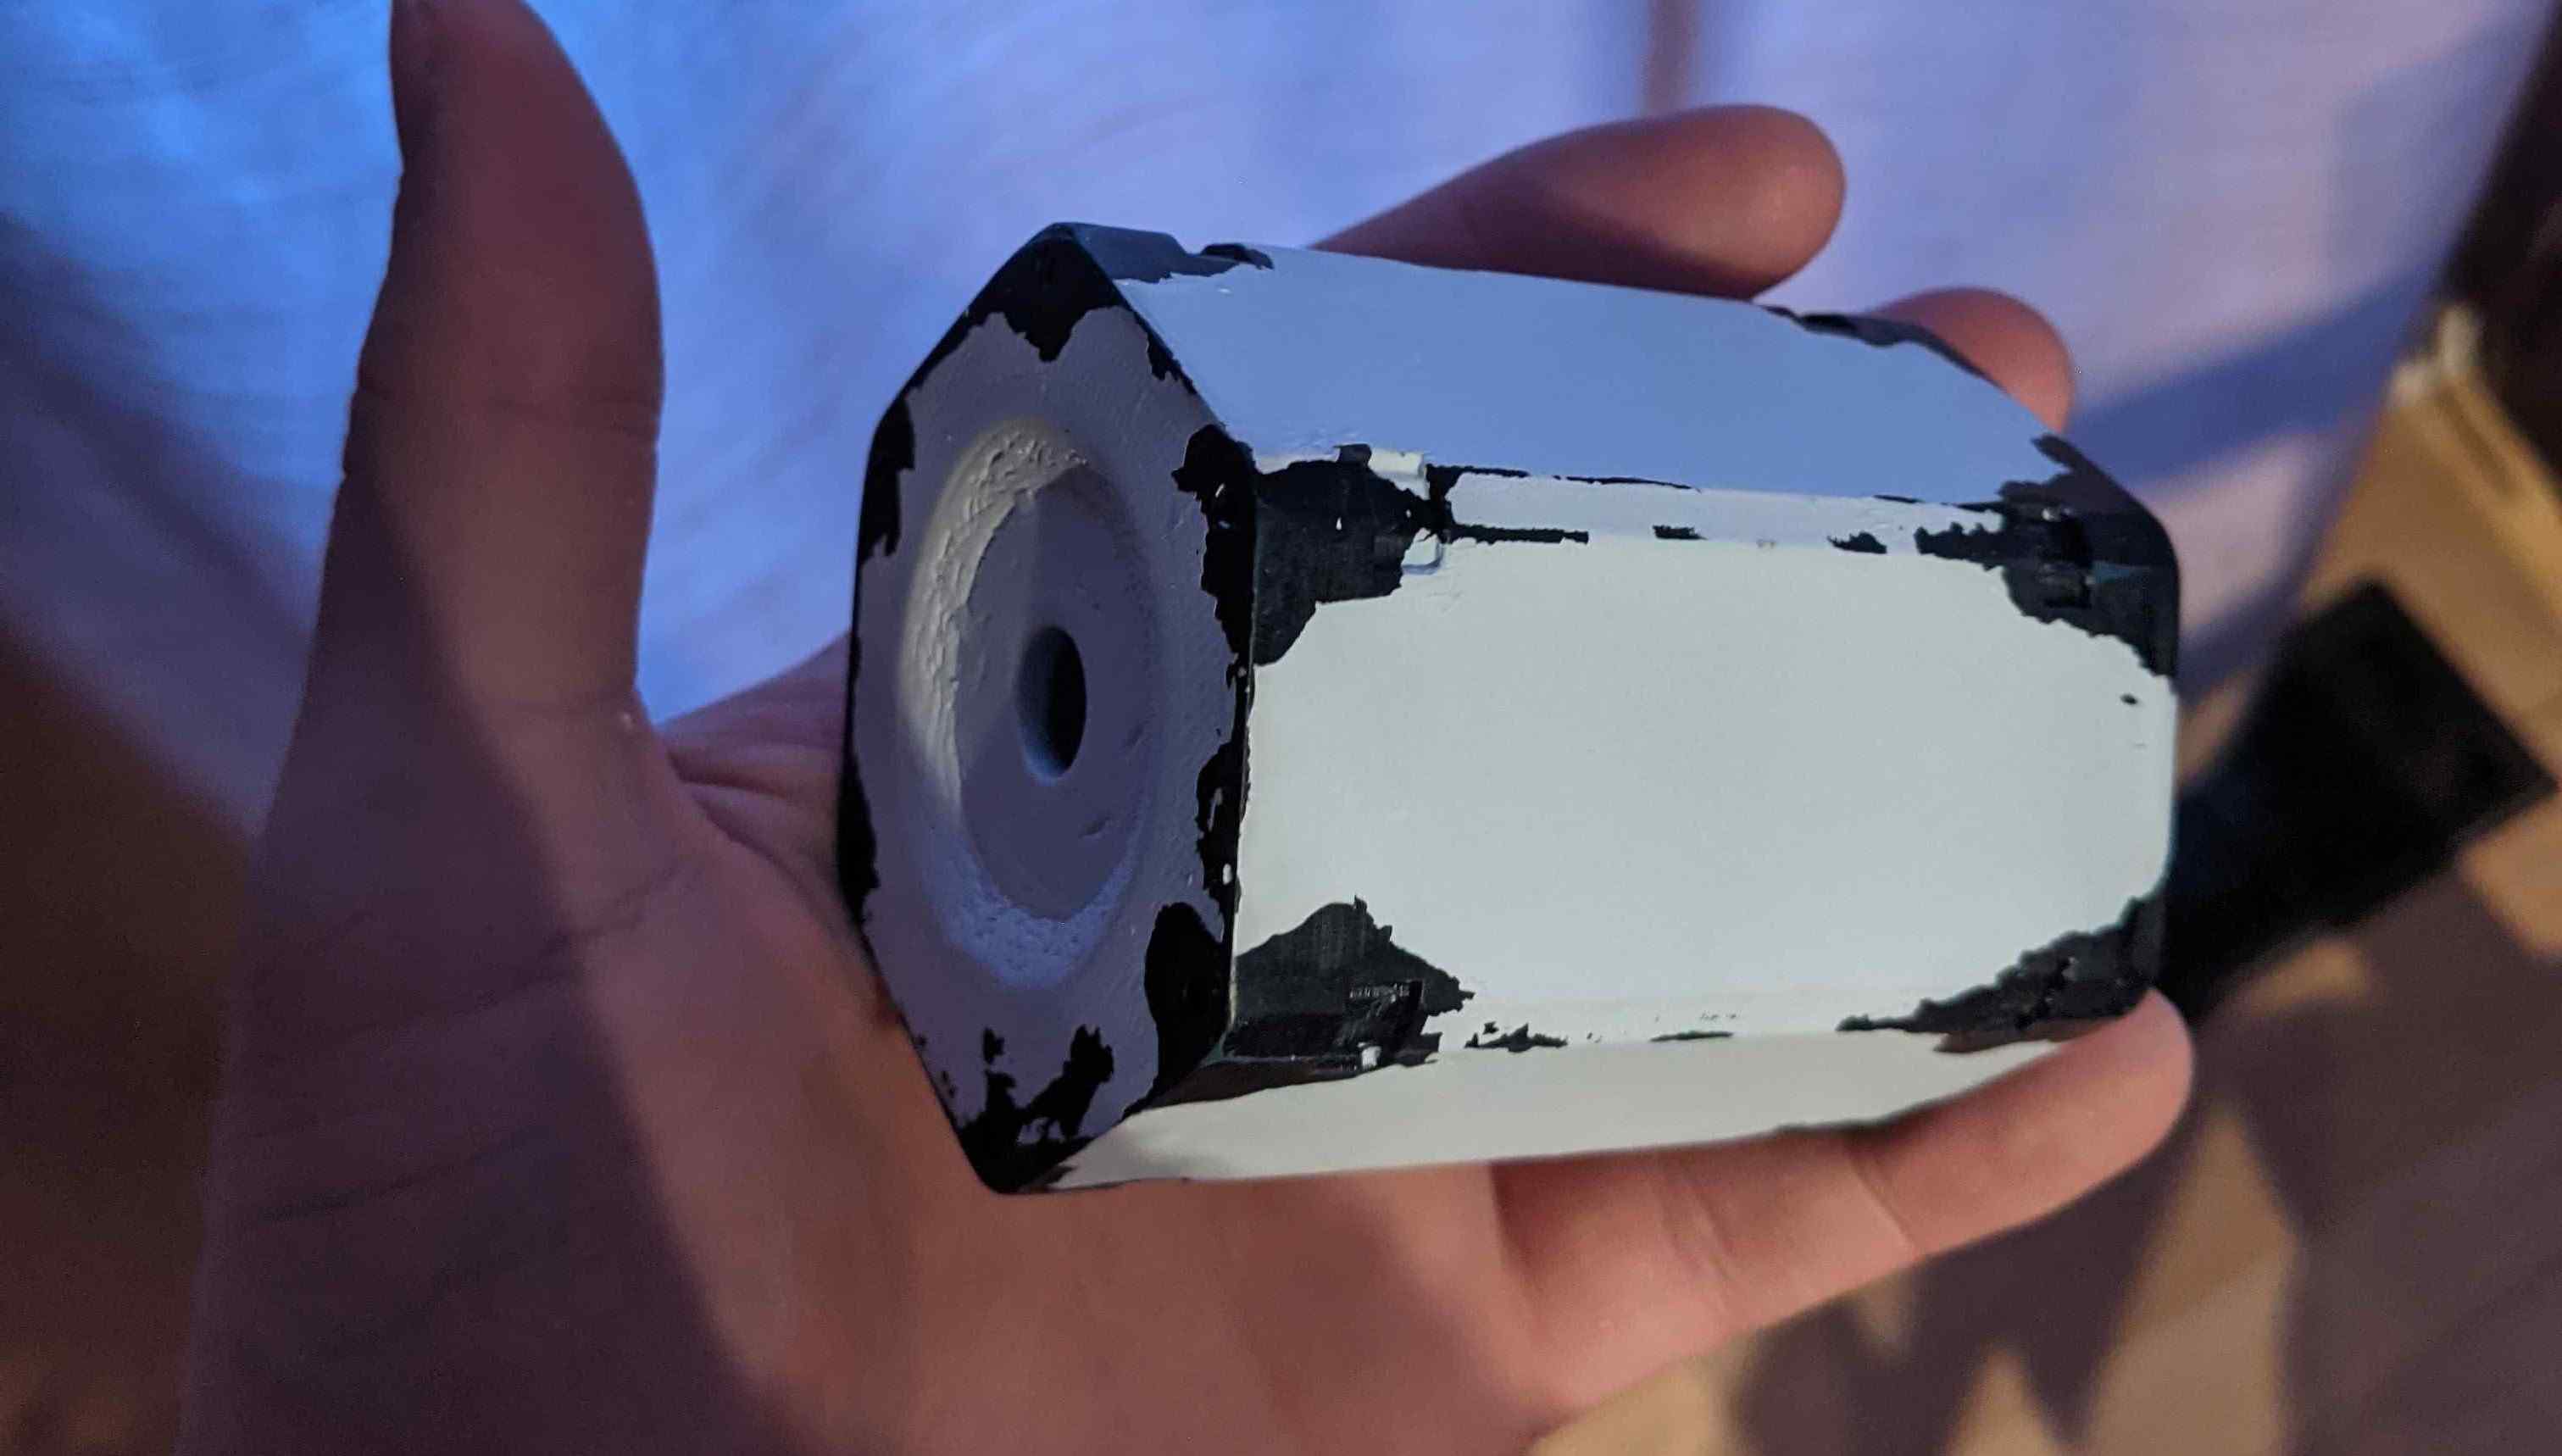
The fit wasn’t perfect and left gaps to big for my liking in same places. In my Daft Punk project I used automotive Bondo for this. After explaining to others my struggles with Bondo to others, I was recommended to use wood putty. Even with my tube that was a few years old, the application was very easy compared to Bondo. Would definitely recommend this over Bondo for any prop part like this. However, on something that is more susceptible to banging and being thrown around, like a helmet, I might still use Bondo. Maybe using higher quality/newer wood putty could also give stronger results.
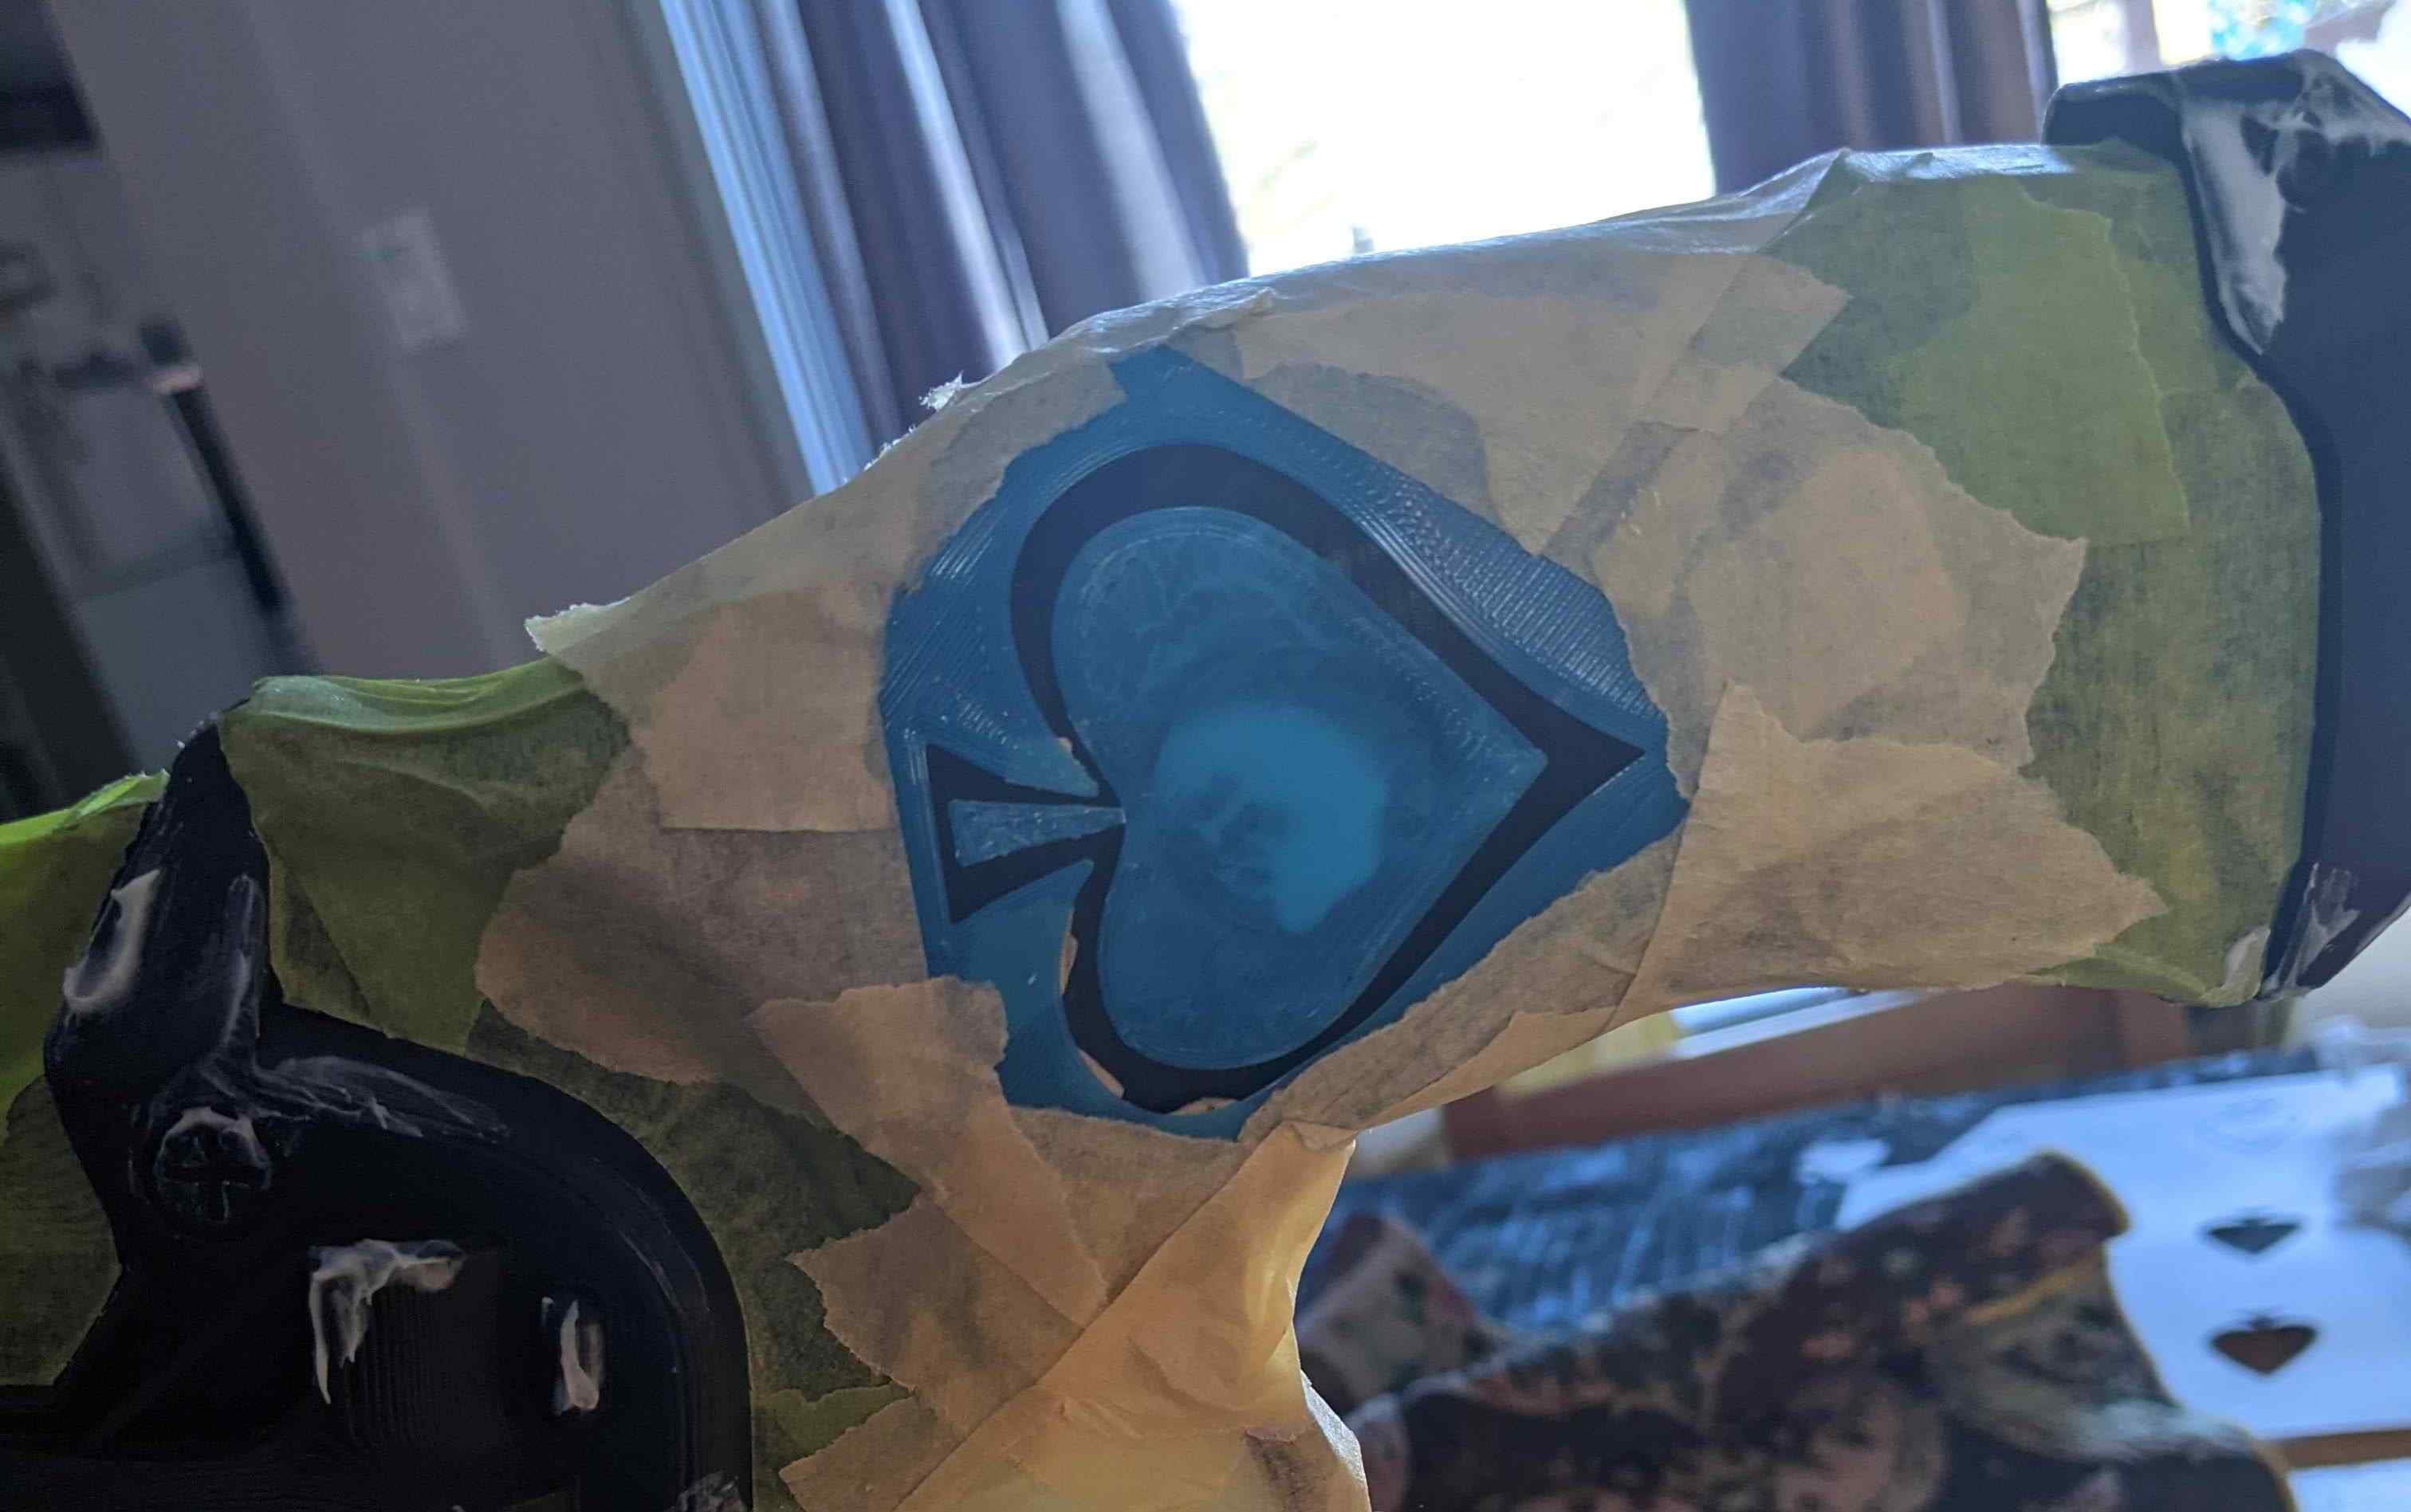
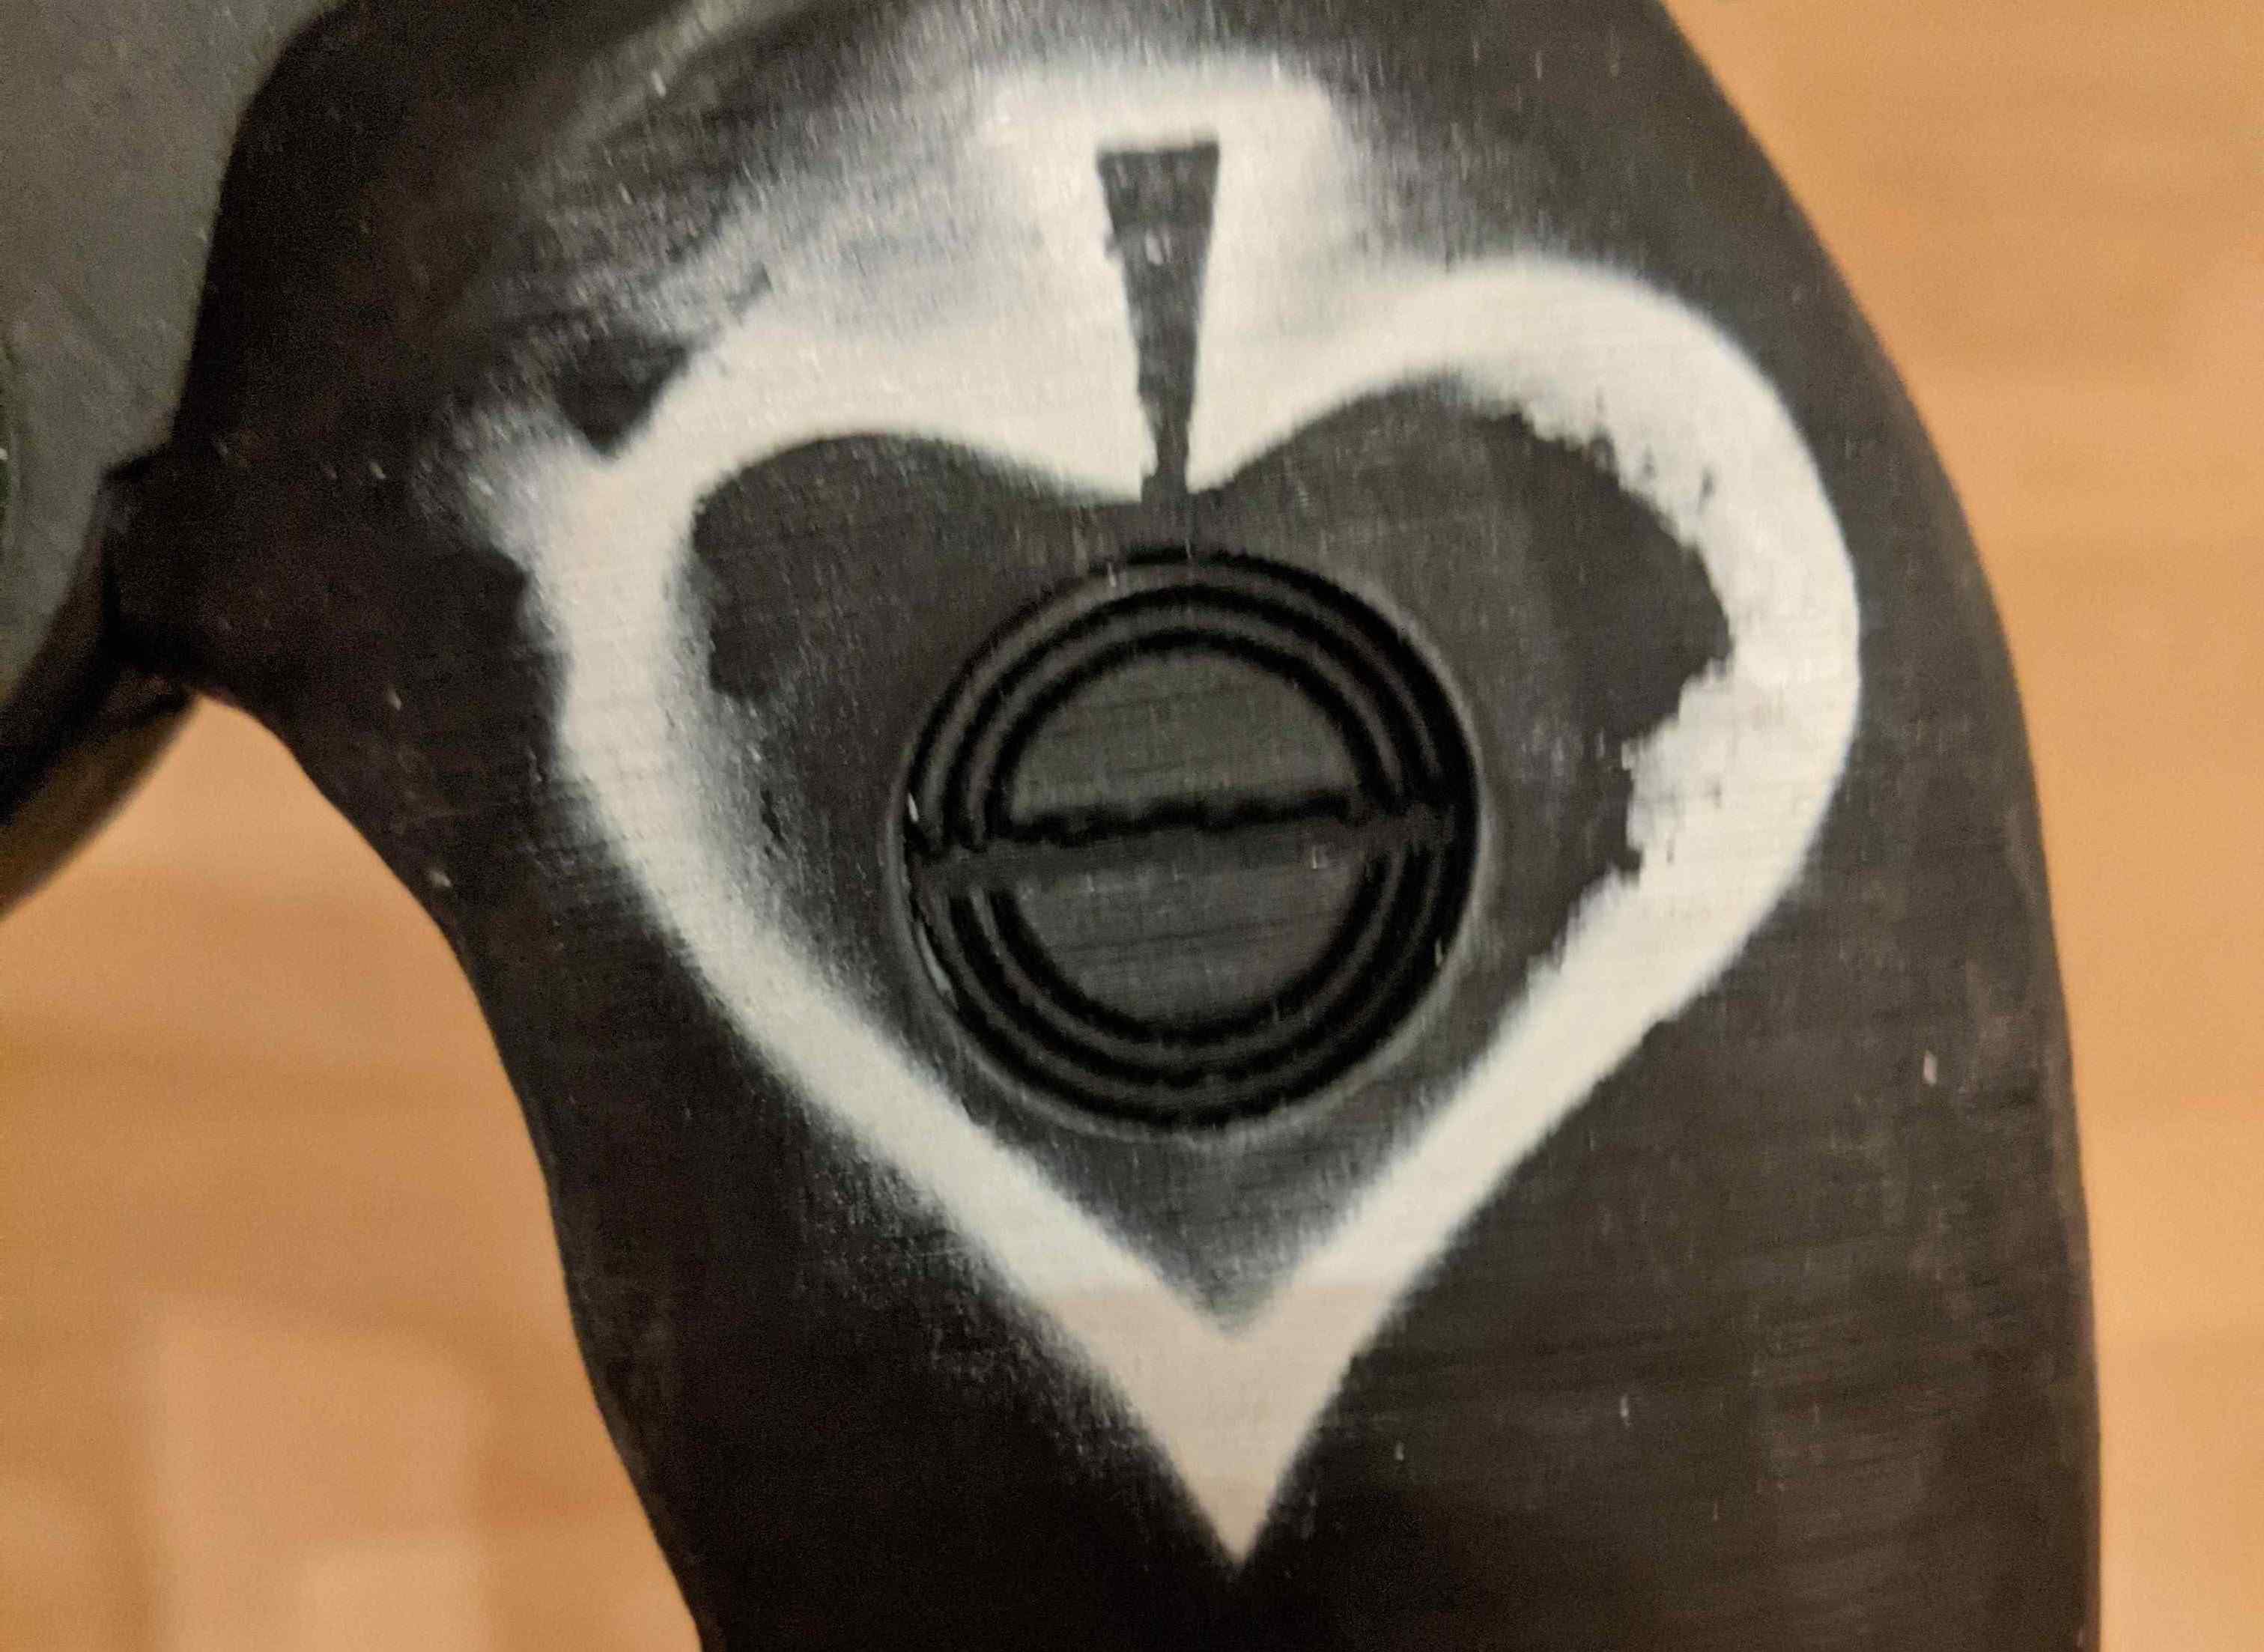
After the putty was sanded and painted, it was time to start the finishing. I originally planned to use paper stencils, but lost patience after always cutting the tip of the spade my accident. Instead, I 3D printed my own stencils! I printed 0.3-millimeter-thick stencils. It worked well for the middle spade, but the plastic was too stiff to properly mold around the grip spade. I had to insert small parts of tape to make it stick. That was a mistake. I should have reconsidered my approach a second time at this point.
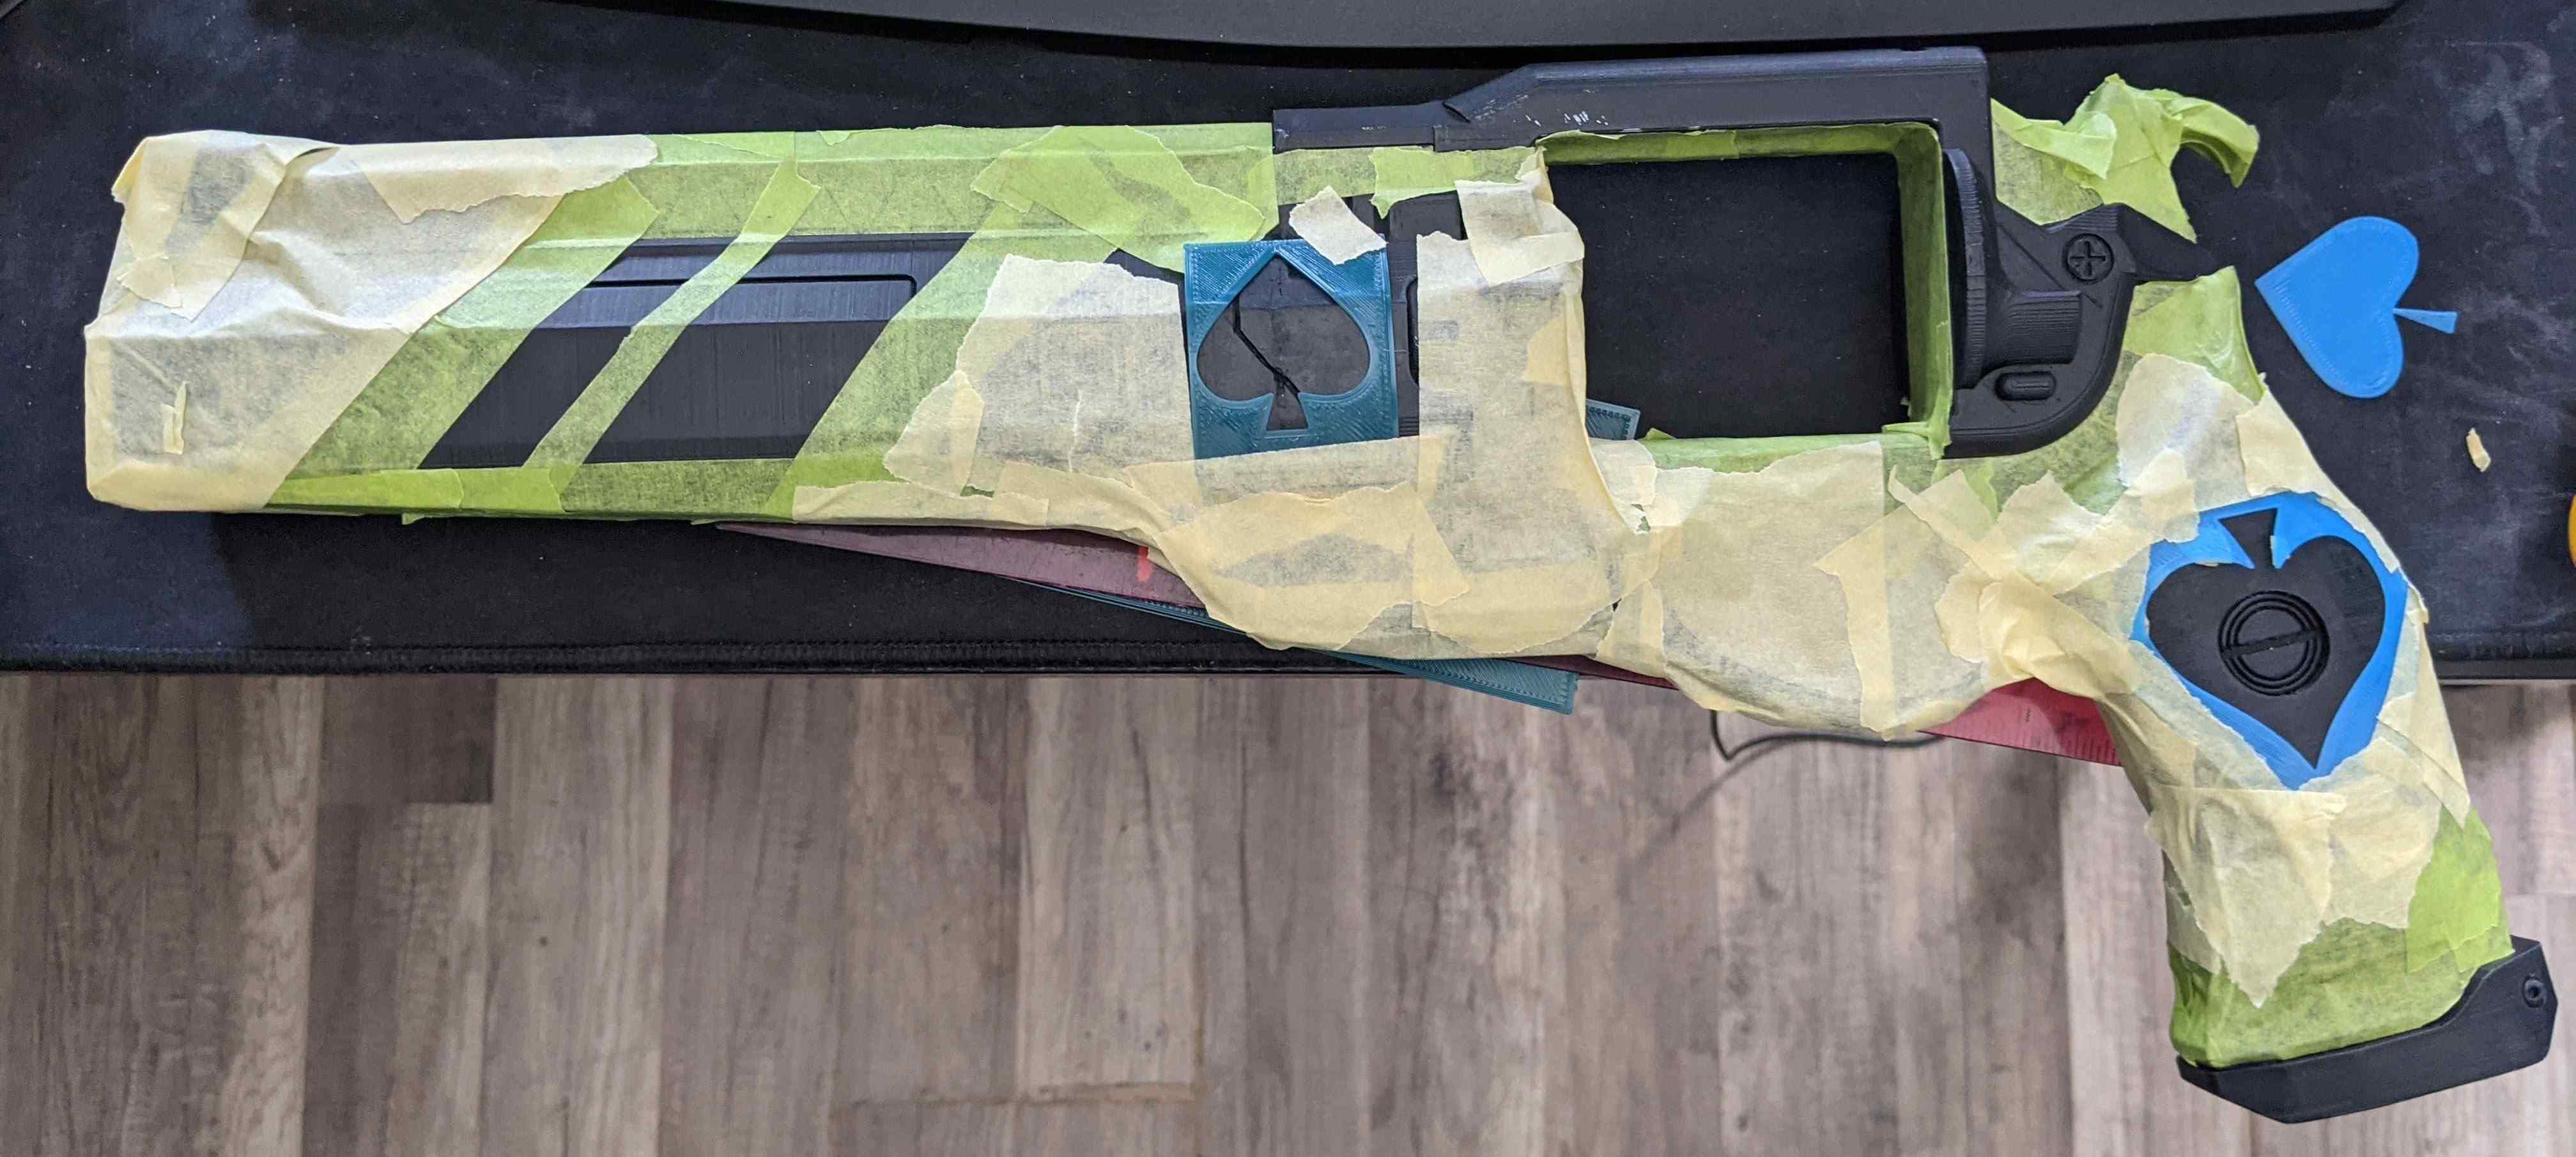
The center of the spade below is held on the gun with toothpaste as a glue.
Weathering
Parallel to all of this, I was experimenting paint effects on smaller parts of this build. To produce the “chipped paint” look on the gun to give its weathered aesthetic, I need a special form of masking. I read that some people tear masking tape and tape the torn part to give an irregular pattern. Other people used masking putty. It is a gel that acts like masking tape. However, I felt like it was expensive for what it was. That brought me to the users of petroleum jelly and toothpaste! I chose toothpaste as there is this one tube in my house that everybody dislikes, so I might as well use it! First step is to generously apply the toothpaste where the paint needs to be chipped. Then spread it lightly to spots where it will be less chipped.
Immediately after toothpaste application, it is time to paint the part. I spray painted like I normally do with light coats a few minutes apart. Then let the paint dry to a point where it is stiff enough that it can be comfortably handled but still feel a little tacky. That was around 3-4 hours for me. Now run hot water on the part and gently rub where there was toothpaste. In this picture the left side was in progress and the right hasn’t been touched yet.
After removing all the toothpaste parts and lightly scratching with a nail where the toothpaste was a bit lighter, we can have a look at the result.
Finishing touches
Back to the main build, the toothpaste was applied where I wanted, and I gave it a few coats of paint.
Like mentioned earlier, my masking attempt gave this messy mess.
To fix this, on some parts I just used a pain brush. While other sections I placed a piece of masking tape and cut it with a knife along the edge and painted over with the brush.
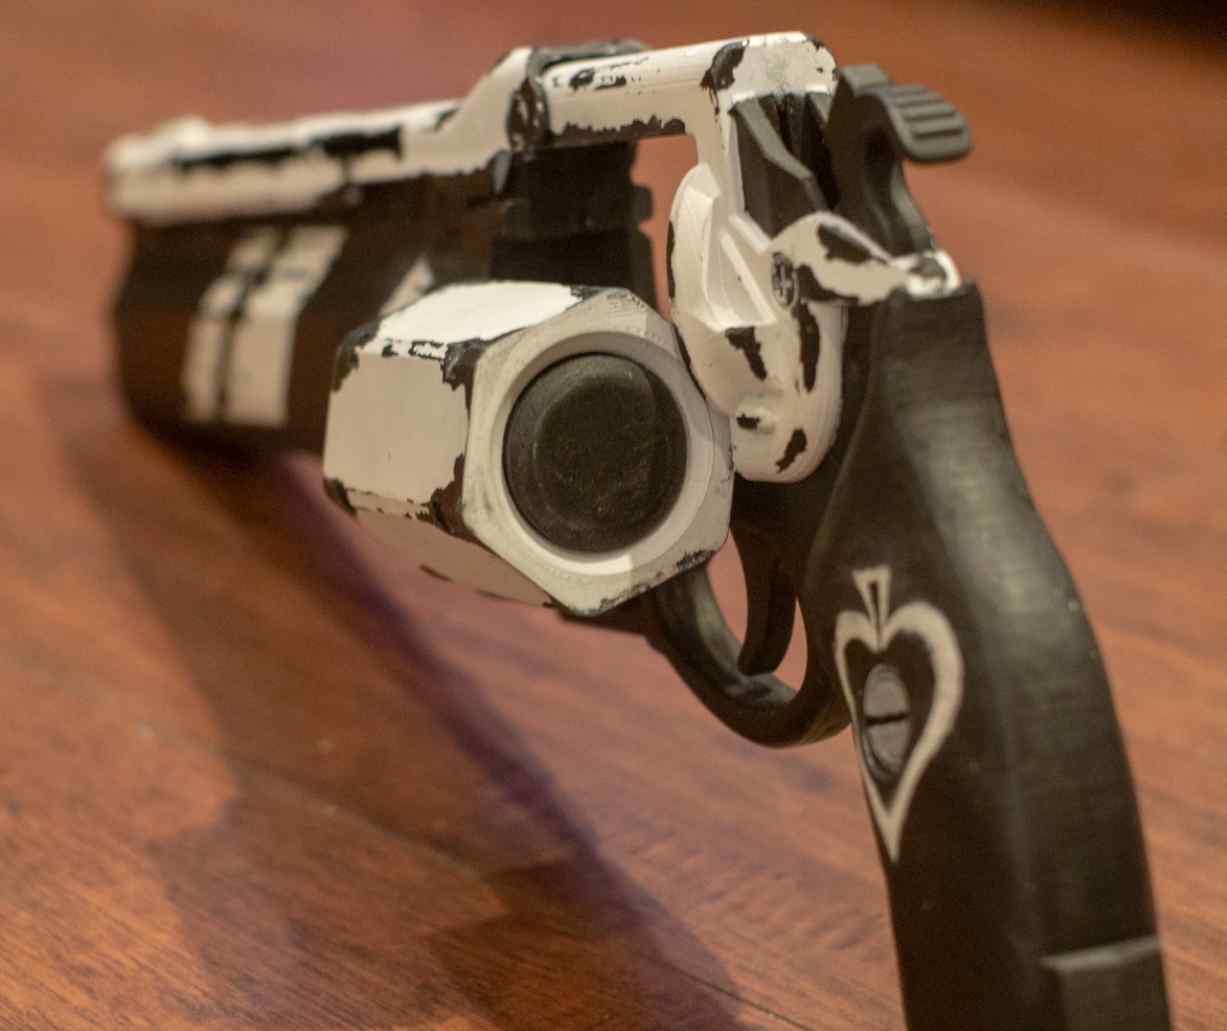
Final Result

© Matthew Albert | Pudhina Fresh theme for Jekyll.